
Last updated November 17, 2026
 Hardwood
 Engineered hardwood
 Luxury vinyl plank
 Laminate
 Porcelain tile
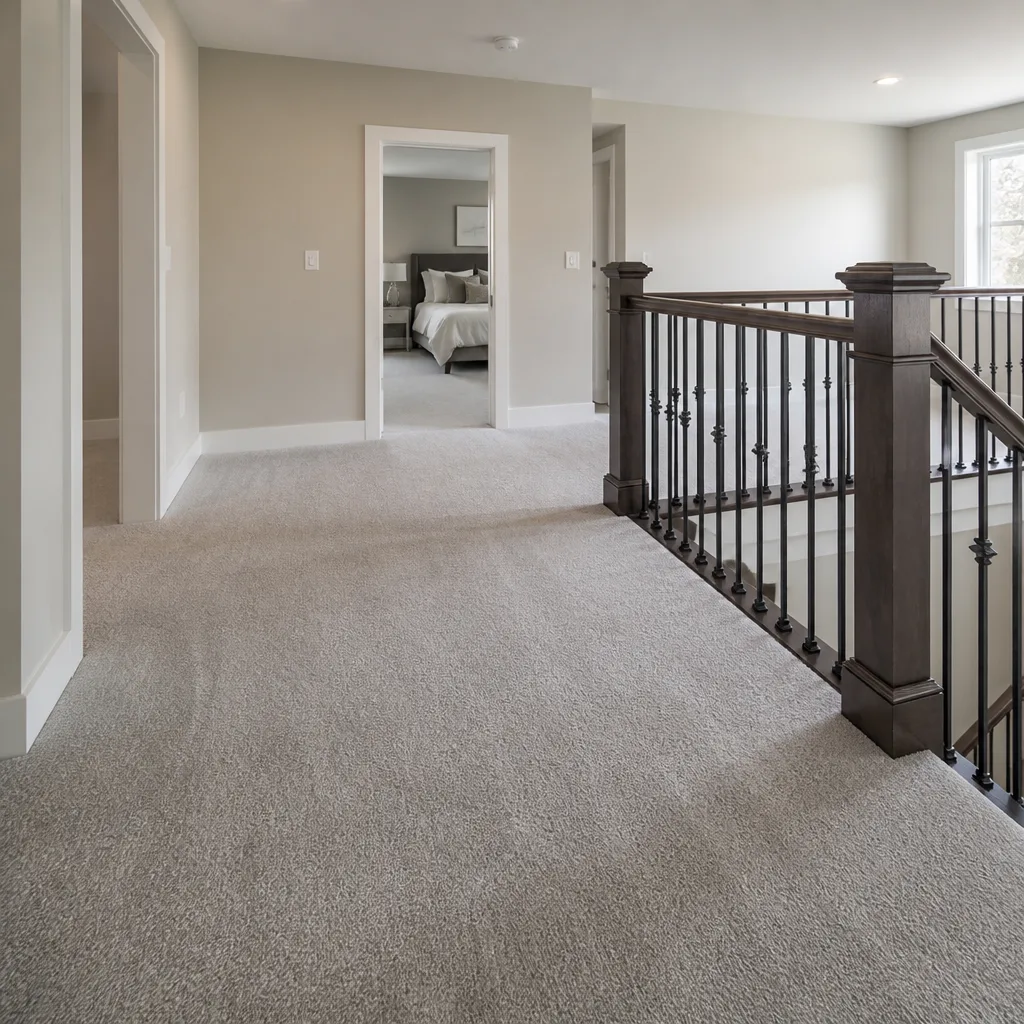 Carpet
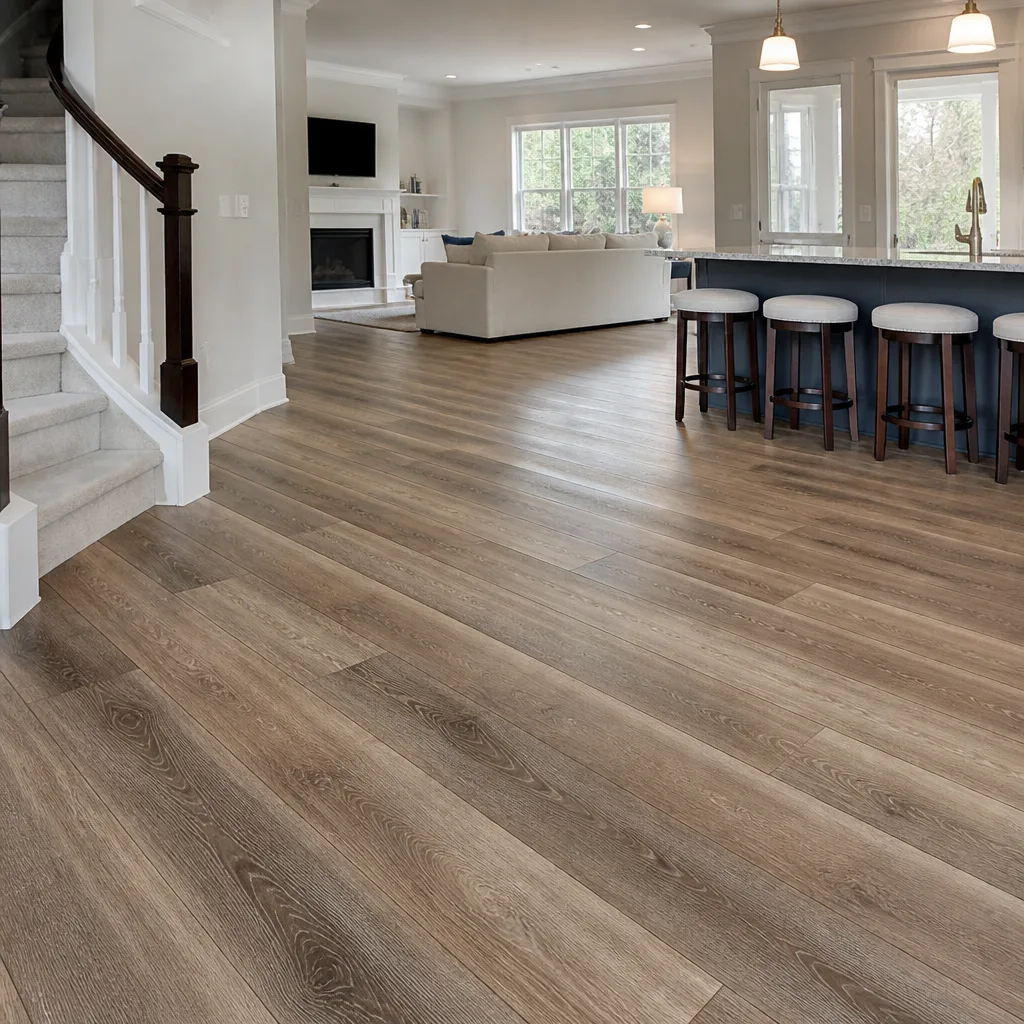 Shaw
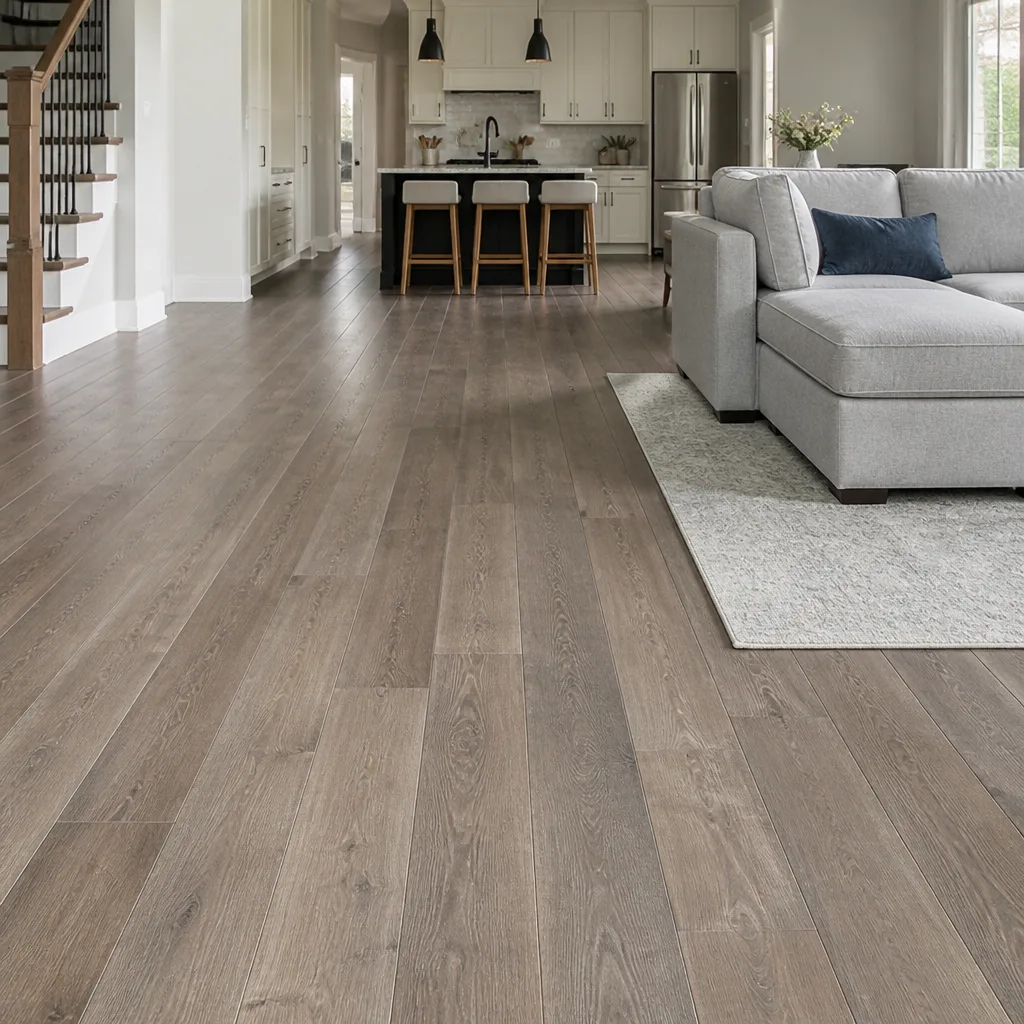 Mohawk
 COREtec
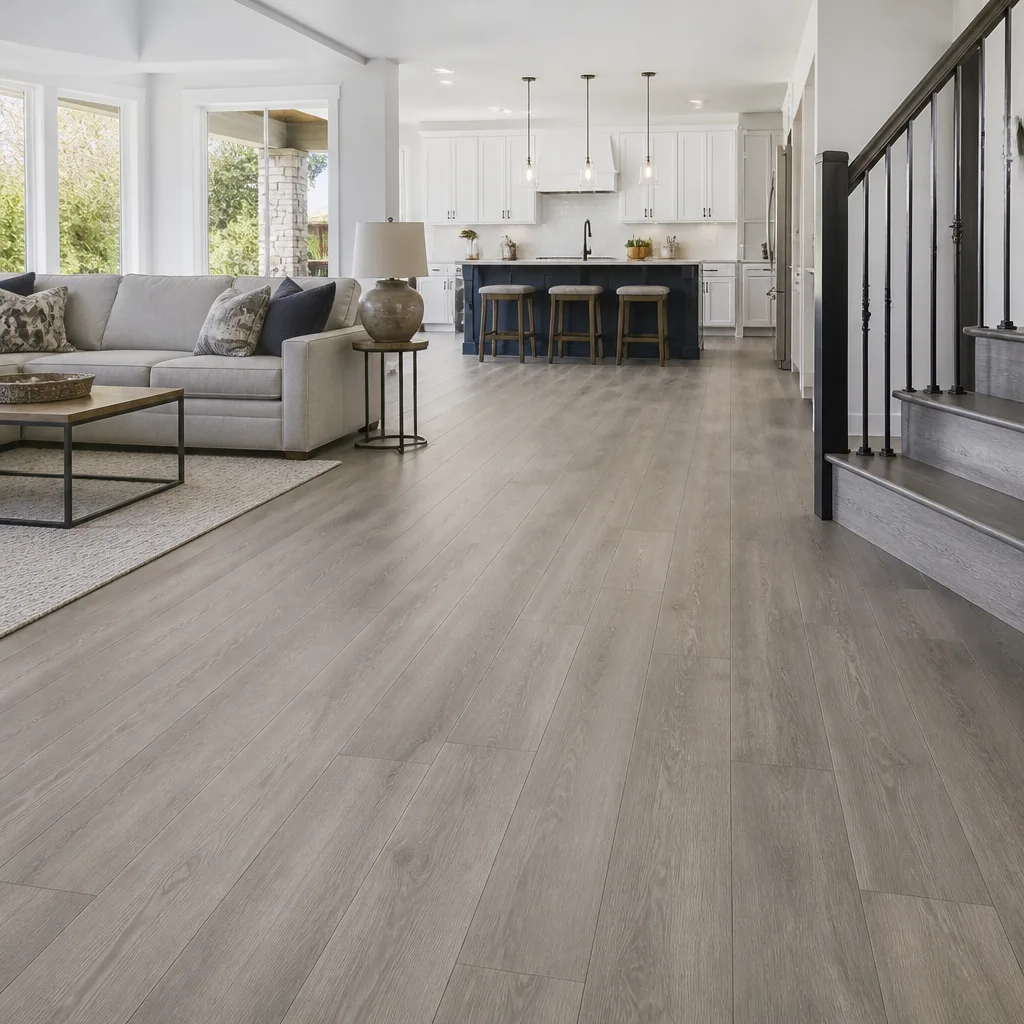 Pergo
Free in-home measure and written estimate: Shaw, Mohawk, COREtec and Pergo lines compared on your own rooms, with carpet, tile, vinyl plank, laminate and hardwood laid out side by side
Get your free estimateSubfloors Explained: What Sits Under Your New Floor
Most homeowners spend weeks choosing a floor. They compare Karndean against Shaw, they weigh carpet against tile, they study plank widths and stain tones. Almost nobody asks about the subfloor, which is the one variable that decides whether any of those choices will actually work. In our experience, the majority of flooring failures we’re asked to diagnose trace back to what was under the floor, not the floor itself. The product was fine. The surface it was glued or nailed to was not. This guide is written from Mesquite, where slab-on-grade construction and a desert climate create a specific set of subfloor conditions. We’ll cover what’s under your floor, how to check it, and how to tell a legitimate prep charge from an upsell.
Quick Answer
A subfloor is the structural surface beneath your finished floor, usually concrete slab, plywood, or oriented strand board (OSB). It determines which flooring products can be installed, how much prep work your job requires, and whether the finished floor will sit flat and stay flat. In Mesquite, most homes have either a concrete slab or a plywood/OSB subfloor over a wood frame, and the two permit very different installation methods.
Styles & brands we work with
- Hardwood
- Engineered hardwood
- Luxury vinyl plank
- Laminate
- Porcelain tile
- Carpet
- Shaw
- Mohawk
- COREtec
- Pergo
Table of Contents
- The Three Subfloor Types in Mesquite Homes
- Moisture in a Desert Subfloor: Why It’s More Common Than You’d Think
- Flatness: What 3/16″ Over 10 Feet Actually Means
- Subfloor Tolerances by Flooring Category
- Repair as a Line Item vs. a Separate Scoped Job
- Self-Leveling Compound: When It Helps and When It’s Upsold
- A Pre-Install Subfloor Checklist
- Frequently Asked Questions
The Three Subfloor Types in Mesquite Homes
Nearly every home in Mesquite has one of three subfloor types, and each one writes its own rulebook. Knowing which you have changes the products available to you before a single plank is ordered.
Concrete slab
Most newer construction in Mesquite is slab-on-grade, meaning the finished floor sits directly on poured concrete at ground level. Slab is the most common subfloor in the area, and it’s rigid, which is good news for tile. Slab limits you in other ways: you can’t nail into it, so hardwood goes down as a floating or glued install, and moisture from below ground can wick up through the slab over time. Slab also tends to have minor undulations that need to be addressed before a rigid product goes over it.
Plywood
Plywood subfloor, typically 3/4″ thick, is laid over wood joists and is the traditional standard in older homes and second-floor additions. It holds fasteners well, so nailed hardwood and stapled carpet perform as intended. Plywood is also the subfloor most sensitive to moisture swings, because wood moves with humidity. In a desert climate, the swing is often seasonal rather than constant.
OSB
Oriented strand board is a glued-and-pressed wood product made of large flakes, used interchangeably with plywood in much of the newer housing stock. It’s dimensionally stable and cost-effective, and it performs well when kept dry. OSB is less forgiving than plywood if it gets wet, because water can cause the flakes to swell and the panel to lose integrity. If you’re installing a luxury vinyl plank or a floating laminate over OSB, that moisture history matters.
If you’re not sure which you have, pull a floor register cover and look. It takes ten seconds and tells you which of the three rulebooks applies to your project.
Moisture in a Desert Subfloor: Why It’s More Common Than You’d Think
Desert homeowners often assume moisture can’t be a problem. It can, and it often is. The moisture that matters in a Mesquite subfloor usually doesn’t come from rain or a leak. It comes from the ground itself.
On a concrete slab, moisture moves upward through the concrete by capillary action. The slab is porous at a microscopic level, and the soil beneath it holds moisture from irrigation, landscaping, and the water table. That moisture rises slowly, and it collects under finish floors that trap it. Water-resistant luxury vinyl plank, a Karndean floating floor, a COREtec plank, and even a vapor-retarding carpet pad all sit between the slab and the room, so the moisture stays where it is. It slowly affects adhesives, causes gassing that bubbles a glued floor, and creates the conditions for mold under a pad. On a wood subfloor, the moisture source is often interior: a bathroom on the other side of a wall, a slow supply line, or just seasonal humidity swings.
How to check for subfloor moisture before installation
- Look for a chalky white residue on the slab, which suggests efflorescence from moisture rising through the concrete.
- Pull up a corner of the existing flooring and check the underside for staining or a musty smell.
- Press the palm of your hand to the exposed slab for 30 seconds and check for a cool, damp feel.
- Ask about a moisture test at the estimate. A reputable installer will test a concrete slab before gluing any floor to it.
The readings themselves and the limits for a given product are set by the product manufacturer and documented in the written estimate, not by a rule of thumb. If a floor feels cold and slightly damp, or the existing floor above it has curled, get it tested before you buy a replacement.
Flatness: What 3/16″ Over 10 Feet Actually Means
Flatness is where most homeowners get confused, because the number sounds trivial. Three-sixteenths of an inch over ten feet is about the thickness of four stacked dimes spread across three paces. It’s also, for some products, the difference between a floor that seats properly and one that rocks, clicks, or cracks.
Most flooring manufacturers set a flatness tolerance somewhere around 3/16″ in 10 feet. Read that number carefully. It’s a total deviation, not an average, and it’s measured anywhere on the slab or panel, not just at the ends. Meanwhile, homes rarely arrive at that spec naturally. Concrete slabs slope toward drains, wood subfloors settle over joists, and old flooring removals leave glue ridges that don’t look like anything until you lay a straightedge on them.
How to measure flatness yourself
- Get a ten-foot straightedge (a level or a long metal rule works).
- Lay it on the subfloor in several directions across the room.
- Slide a set of feeler gauges under the straightedge anywhere you see a gap, or use the width of a coin stack as a rough gauge.
- Mark the low and high spots with painter’s tape on the wall, not on the floor, so you can find them during the estimate.
What each category of flooring does with that gap depends on the product’s rigidity. The next section breaks that down.
Subfloor Tolerances by Flooring Category
The same subfloor can pass one product and fail another. Rigidity is the deciding factor. Here’s how the three main categories respond to flatness and substrate condition.
Luxury vinyl plank and floating floors
LVP floats over the subfloor, which means any dip or ridge telegraphs directly. A high spot puts stress on the locking joint; a low spot creates a hollow. Both shorten the life of the floor and both cause clicks or separation. If you choose a Karndean or COREtec plank, plan on the prep work being done first. A short pile carpet doesn’t care about a 1/8″ dip; a rigid plank does. Rigid core LVP is also unforgiving of debris, so any leftover glue, staples, or concrete nibs need to come off before the underlayment goes down.
Porcelain and ceramic tile
Tile is rigid in the extreme, so it tolerates very little deflection. If your slab is out of tolerance and you tile over it with a thin-set that isn’t thick enough to compensate, one of two things happens. Either a tile cracks at the joint, or the mortar bed fails over a high spot. That’s why the flatness check matters more for tile than any other category. Daltile porcelain has the same subfloor needs as any other tile; the prep is the difference, not the tile.
Hardwood and carpet
Hardwood is more forgiving of small variations, but only if the subfloor is sound and won’t deflect under load. Site-finished hardwood needs a stable, sound subfloor to hold nails and to prevent cupping or gapping after installation. Carpet is the most forgiving of the three; a good pad absorbs a lot of minor imperfection. If you’re considering carpet installation, flatness is rarely the deciding factor on its own, though moisture and squeaks can still trip you up.
Repair as a Line Item vs. a Separate Scoped Job
When should subfloor repair show up as a line on your flooring quote, and when should it be scoped as a separate job? This is the question that most often turns into a billing dispute, so it’s worth deciding up front.
When it belongs on the flooring quote
- Minor leveling (spot patching, feathering a small high spot)
- Stripping old adhesive, staples, or tack strip
- Removing an existing underlayment and prepping the surface
- Patching a small area where old flooring was removed and the subfloor was damaged
These are routine prep items, and in most cases they belong in the same written scope as the install.
When it should be a separate job
- Structural repair, such as sistering joists, replacing a section of subfloor, or addressing deflection in a wood floor
- Framing repairs or correcting a clear slope issue
- Moisture mitigation (vapor barriers, drainage, a mitigation system)
- Replacing an area of subfloor that has been damaged by water or termites
These are construction-scale jobs. They change the structure before the flooring is ever installed. If a contractor hands you a quote that lumps a joist repair into a flooring line item, ask for it to be split. The two jobs have different scopes, different sequencing, and different expectations. We prefer to see the prep broken out as its own line even when we’re doing it in the same visit, because it keeps the flooring price honest.
Self-Leveling Compound: When It Helps and When It’s Upsold
Self-leveling compound, sometimes called self-leveling underlayment, is a pourable cement-based product that flows across a low spot and cures flat. It’s the right tool for a genuine flatness problem on a concrete slab or a wood subfloor. It’s the wrong tool for a subfloor that just needs a light touch-up.
When it’s genuinely needed
- The slab is out of tolerance by more than a small amount over a large area
- The slope creates a visible hump or dip under a rigid plank
- A high spot has been ground down and needs to be feathered back in
- An old adhesive or patching compound left a ridge under the new floor
When it’s being upsold
- The floor being installed is carpet, and the subfloor is flat enough for carpet
- The floor is a forgiving floating product with a thick pad over a minor deviation
- The contractor hasn’t actually measured the gap with a straightedge
- The area under the new floor covers only a portion of the room, but the compound is priced as if the whole room needs it
Cost for self-leveling compound depends on the depth, the area, and the product, and it’s rarely a cost you can predict to the dollar before the subfloor is measured. Anyone quoting you a self-leveling cost without checking flatness is guessing. Ask for the measurement, and ask for the compound as a specifically priced line item, with an area and depth. On smaller spot fixes, the amount used is small and the charge should reflect that. On a large open floor, it’s a genuine line item and it should be shown that way.
A Pre-Install Subfloor Checklist
Here’s the checklist we walk through before a floor goes down. It works whether you’re hiring us or anyone else, and it works for tile, carpet, and site-finished hardwood alike. If you’re considering tile flooring installation, go through it with the tile in mind; if you’re refinishing hardwood, the checklist covers the sanded floor beneath the refinish.
- Identify the subfloor type. Slab, plywood, or OSB. Pull a register if needed.
- Test for moisture. On a slab, ask for a moisture test before any glue-down. On wood, look for staining or a musty smell.
- Measure flatness with a straightedge. Mark the highs and lows so the work is scoped to what actually needs prep.
- Remove all debris. Old adhesive, staples, tack strip, and concrete nibs.
- Check for deflection. Step on a wood subfloor and feel for movement. If it flexes, no flooring product will hold up over it.
- Check the room’s perimeter. Expansion gaps at walls are set by the product, and the installer should verify them at the estimate.
- Get the prep in writing. Every prep item should appear as a line on the written quote with a price and a description.
This checklist is what we mean when we say flooring is a scheduled job: measure first, then a written price, then a booked install day. Anyone who skips step one hasn’t looked at the actual job.
See the difference
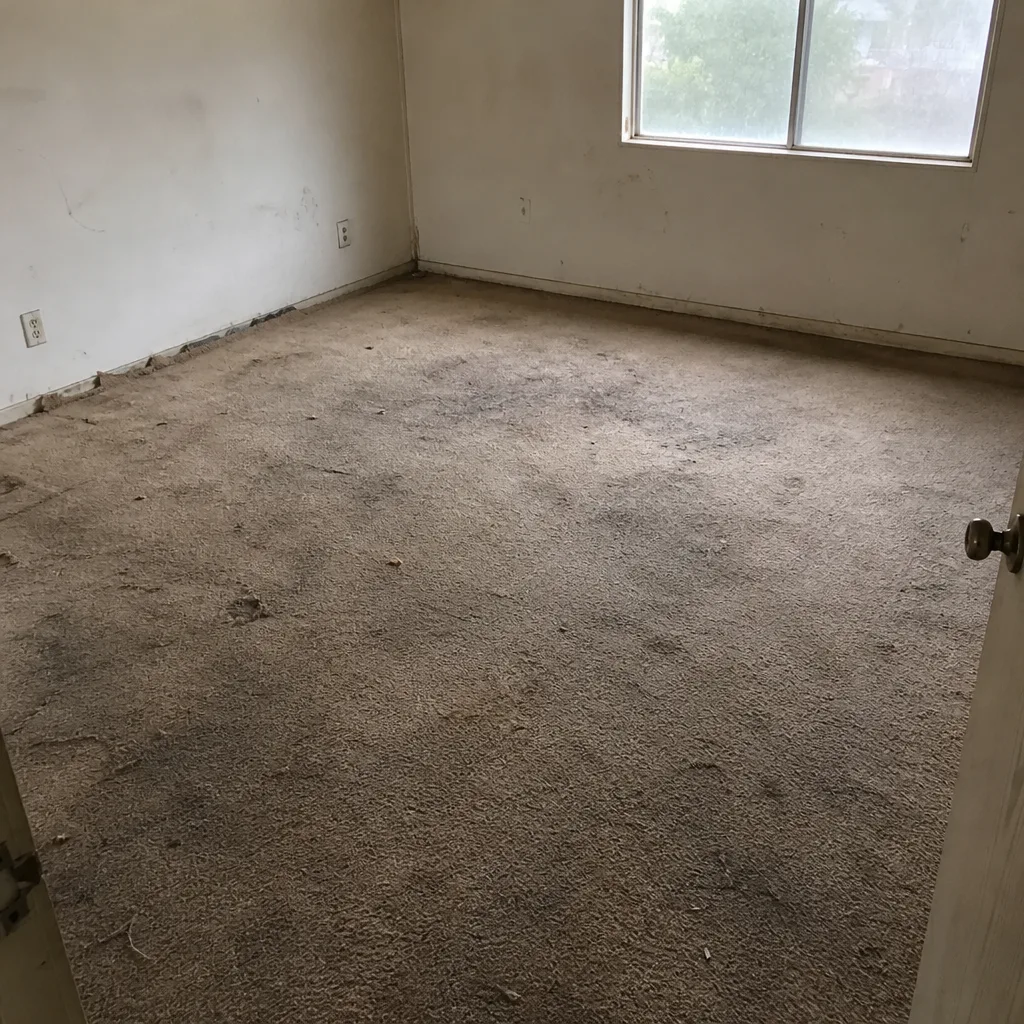 Before
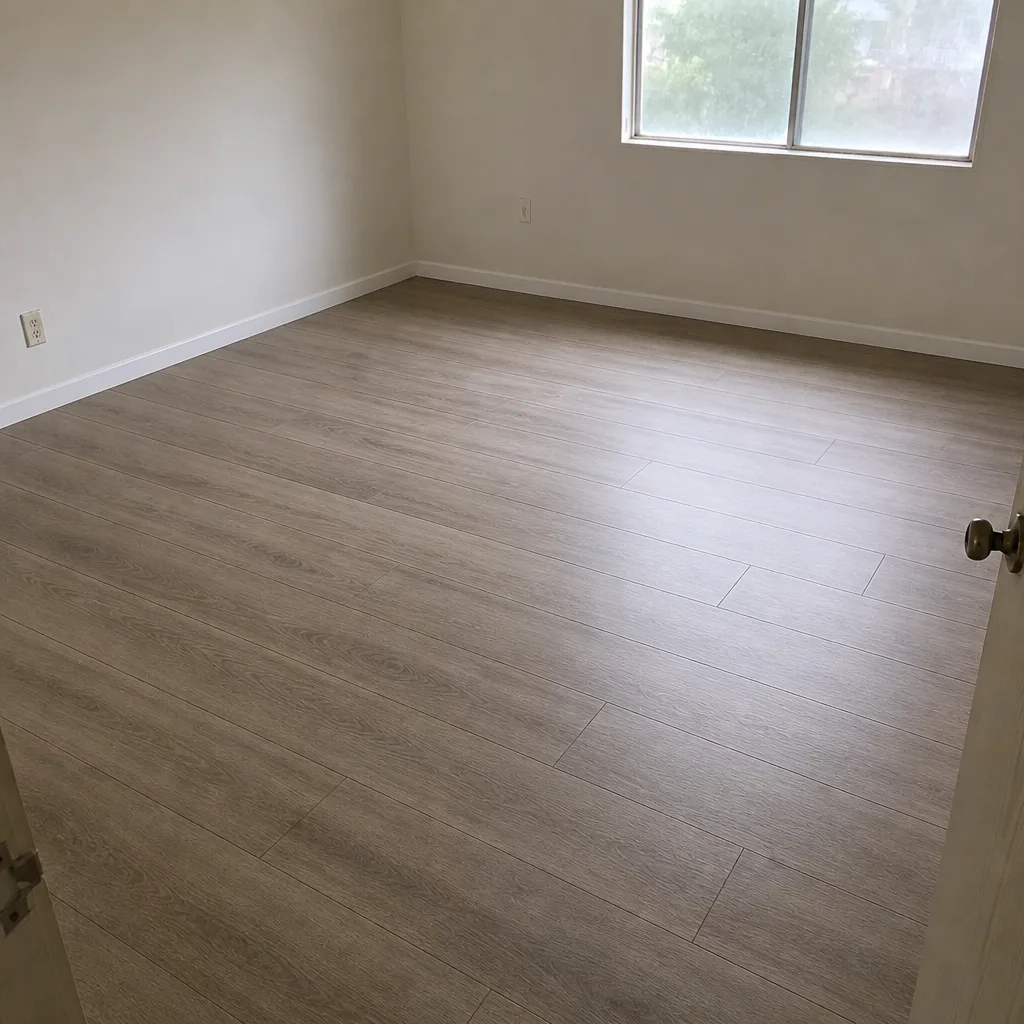 After
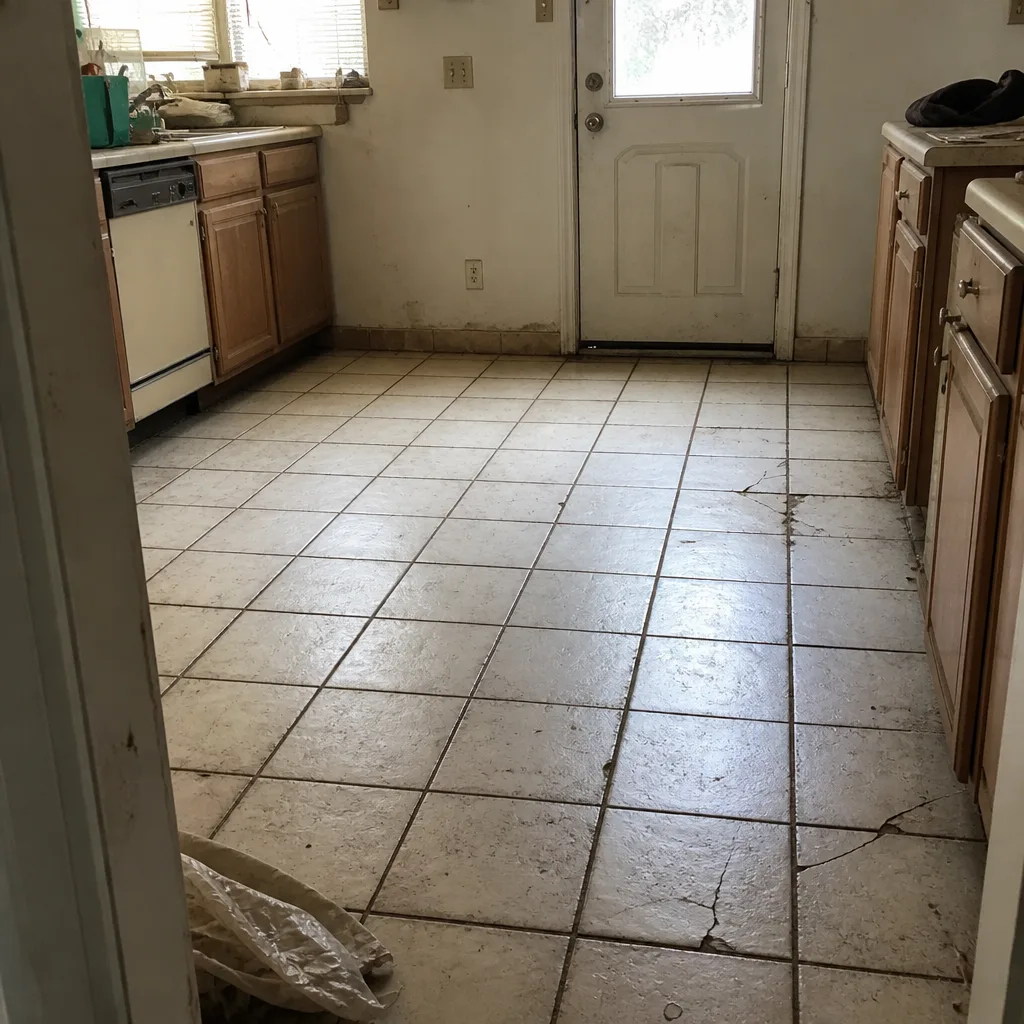 Before
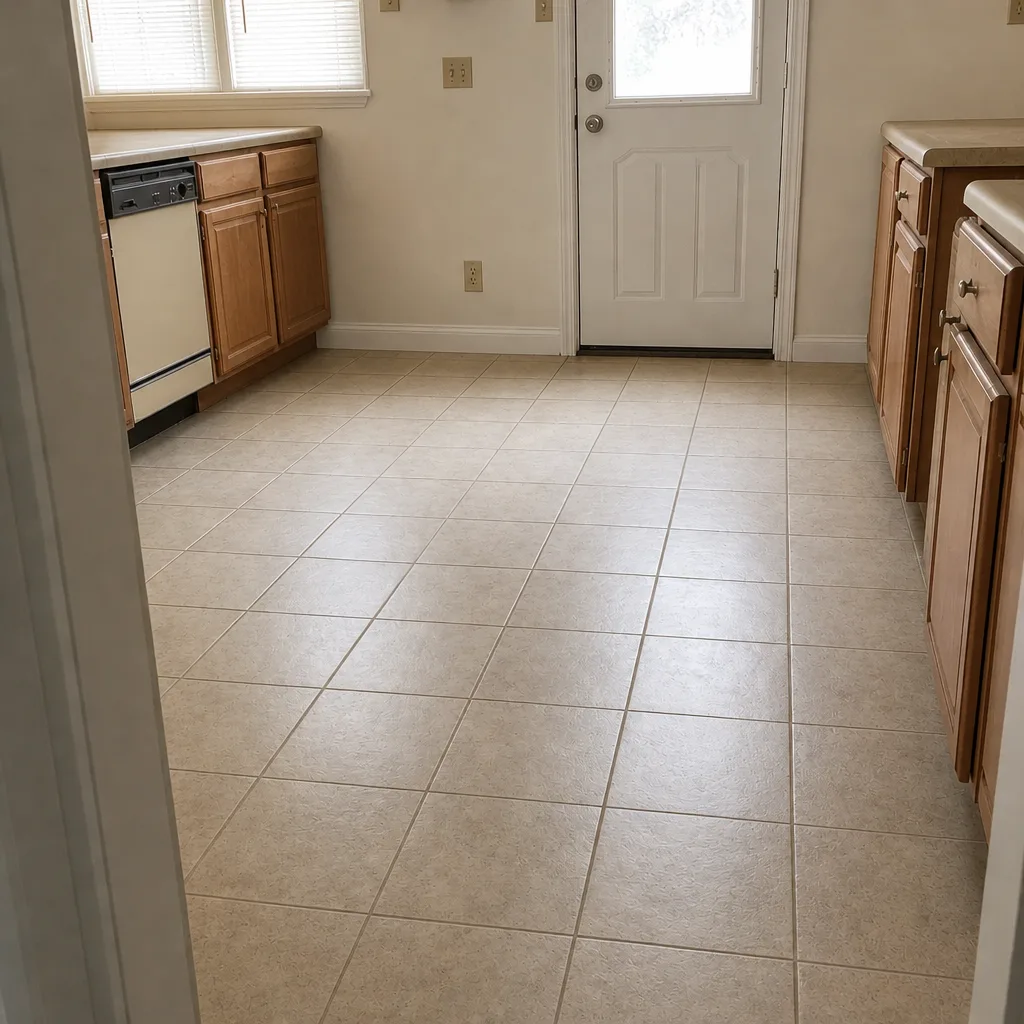 After
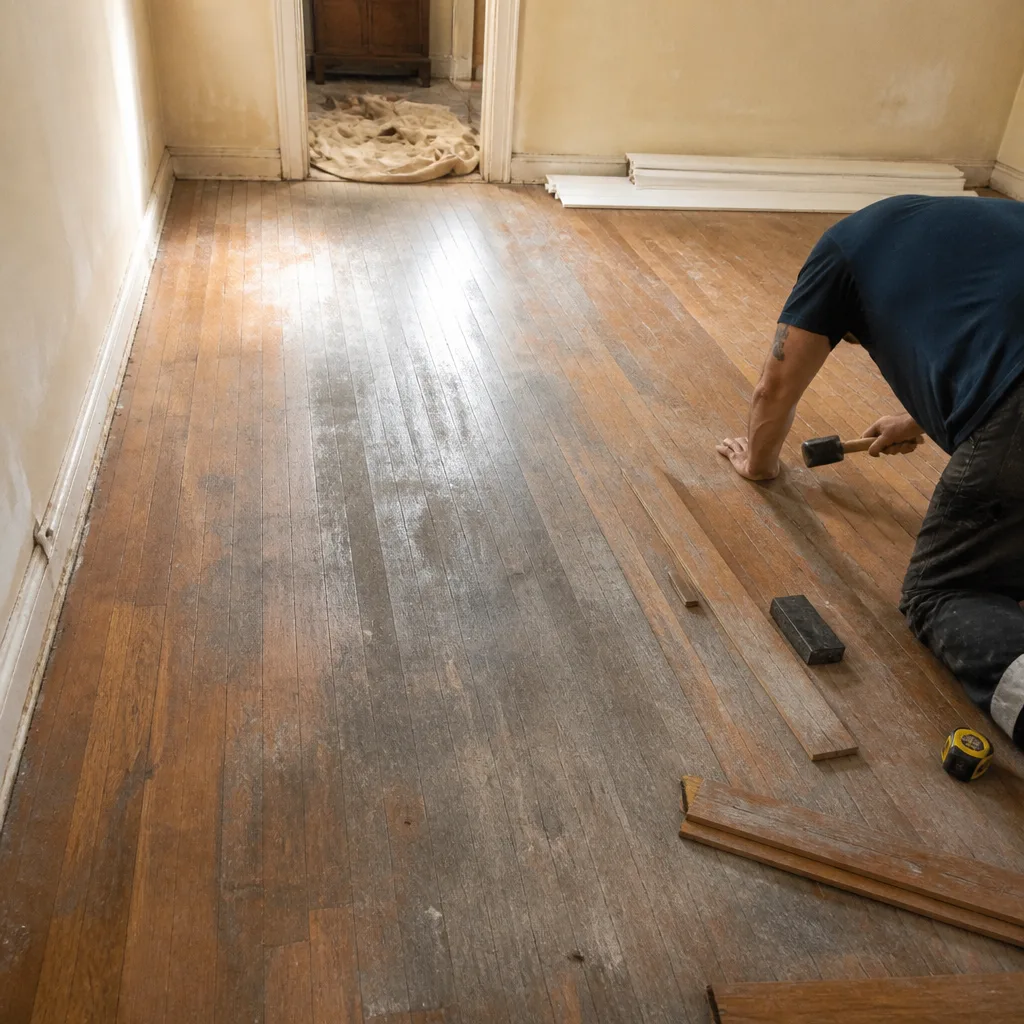 Before
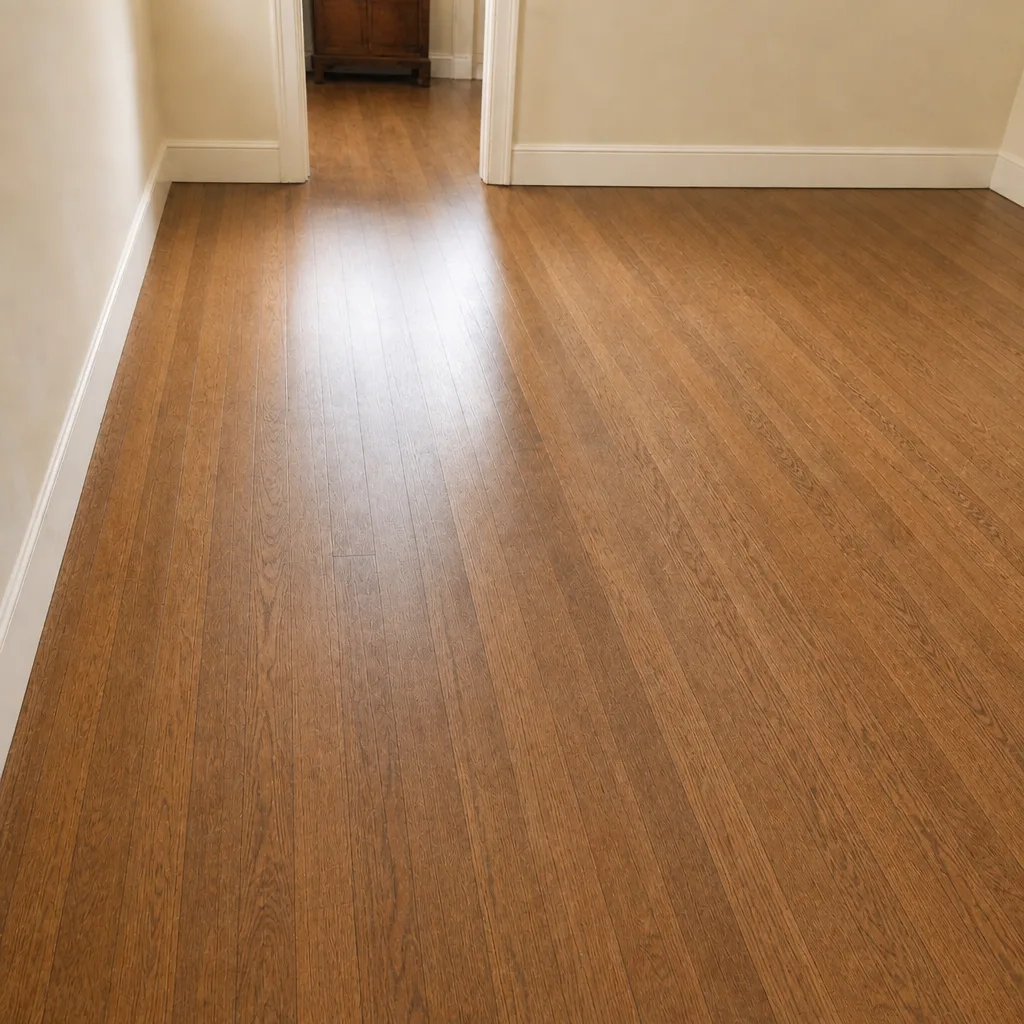 After
Common Mistakes to Avoid
- Choosing a floor before checking the subfloor. Pick the product that fits the subfloor, not the subfloor that fits the product. If your slab is out of tolerance, some rigid cores will work and some will not.
- Skipping the moisture test on a slab. Desert moisture is invisible and common, especially where landscaping regularly irrigates next to the home. A test takes minutes and prevents a costly failure.
- Treating a 3/16″ tolerance as an average. It’s a maximum over the entire run, measured anywhere. A dip in one corner is as serious as a hump in the middle.
- Letting prep get lumped into the install price. If you don’t see the prep as a separate line, you don’t know what it’s costing and you can’t compare quotes honestly.
- Accepting self-leveling compound without a measurement. Ask for the flatness reading and the depth of the compound. If the contractor can’t tell you, it’s an upsell.
- Installing over a wet or damp slab right after a landscaping change. Give the slab time to settle after irrigation systems, pool construction, or new landscaping next to the home.
- Assuming a brand guarantee covers the whole floor. Product warranties and installation warranties are separate documents. Ask what each one covers before you sign.
When to Call a Professional
Some subfloor questions can be answered on your own with a straightedge and a look under a register. Others need a trained eye and a moisture meter. Get a professional involved if you see any of these: a wood subfloor that flexes when you step on it, a slab with visible humps or dips that would telegraph through a rigid plank, any sign of moisture under existing flooring, a floor that visibly slopes or bounces, or a room where the old floor came up with staining or a musty smell. And if you’re choosing between a floor you can install yourself and a floor that needs a proper subfloor prep, that’s the conversation to have at the estimate. Flooring Mesquite offers free estimates in Mesquite, with a written quote that shows the prep as its own line. Call (844) 560-4155. We answer 24/7. Fast dispatch from 7am to 7pm, Sunday through Friday.
Frequently Asked Questions
A subfloor is the structural surface directly under your finished floor. It’s usually a concrete slab, plywood over joists, or OSB, and it carries the finished floor and spreads its load. The finished floor is the surface you walk on; the subfloor is the layer that keeps it flat and sound. You need to know which you have before choosing a product.
Pull a floor register cover and look underneath, or lift the edge of an existing floor. Slab looks like concrete, plywood shows layered wood grain, and OSB shows large pressed wood flakes. If you’re unsure, note the general construction of the home (slab-on-grade or raised wood frame) and ask at the estimate.
Yes, if you’re gluing a floor or installing a moisture-sensitive product. Desert moisture can wick up through a concrete slab by capillary action, and it stays trapped under a floor. A test takes minutes at the estimate and prevents a failure that costs far more to fix later. The reading limits and what they mean for your specific product are set by the manufacturer.
It’s a maximum deviation measured anywhere across a ten-foot straightedge, not an average. Small deviations can affect rigid floors like luxury vinyl plank, which telegraphs highs and lows directly. Softer floors like carpet absorb more minor variation. The manufacturer’s tolerance is what applies, and it should be checked before install day.
No. It’s necessary when a subfloor has a genuine flatness problem that would telegraph through the finished floor. It’s usually unnecessary under carpet or over a very mild deviation with a thick pad. Ask for the flatness reading and the depth before agreeing to the line item.
Routine prep, such as patching a small spot or removing old adhesive, belongs on the flooring quote as its own line. Structural repair like joist work or subfloor replacement should be scoped as a separate job. If you’re not sure which one you’re looking at, ask for the prep to be broken out so you can see the amount.
The Bottom Line
Your subfloor is the variable that decides which floor will work in your home. Before you buy a plank, ask three questions: what’s under my floor, is it flat, and is it dry? Those three answers decide whether a Karndean or COREtec plank will seat properly, whether a Daltile tile will bond soundly, and whether your carpet will sit clean over a sound substrate. When you’re choosing a contractor, look for a written quote that shows prep as its own line, a moisture test on any slab that will be glued, and a measurement with a straightedge. The brand matters, but the subfloor decides whether the brand gets a fair chance.
Nine brands, one contractor. Flooring Mesquite installs and services carpet, tile, and site-finished hardwood, and we offer hardwood floor refinishing as a standalone service for homeowners who’d rather restore the floor they have. You pick the brand. We handle the estimate, the prep, and the install. Call (844) 560-4155 for a free estimate. We answer 24/7. Fast dispatch from 7am to 7pm, Sunday through Friday.
Written by the team at Flooring Mesquite.