
Last updated November 17, 2026
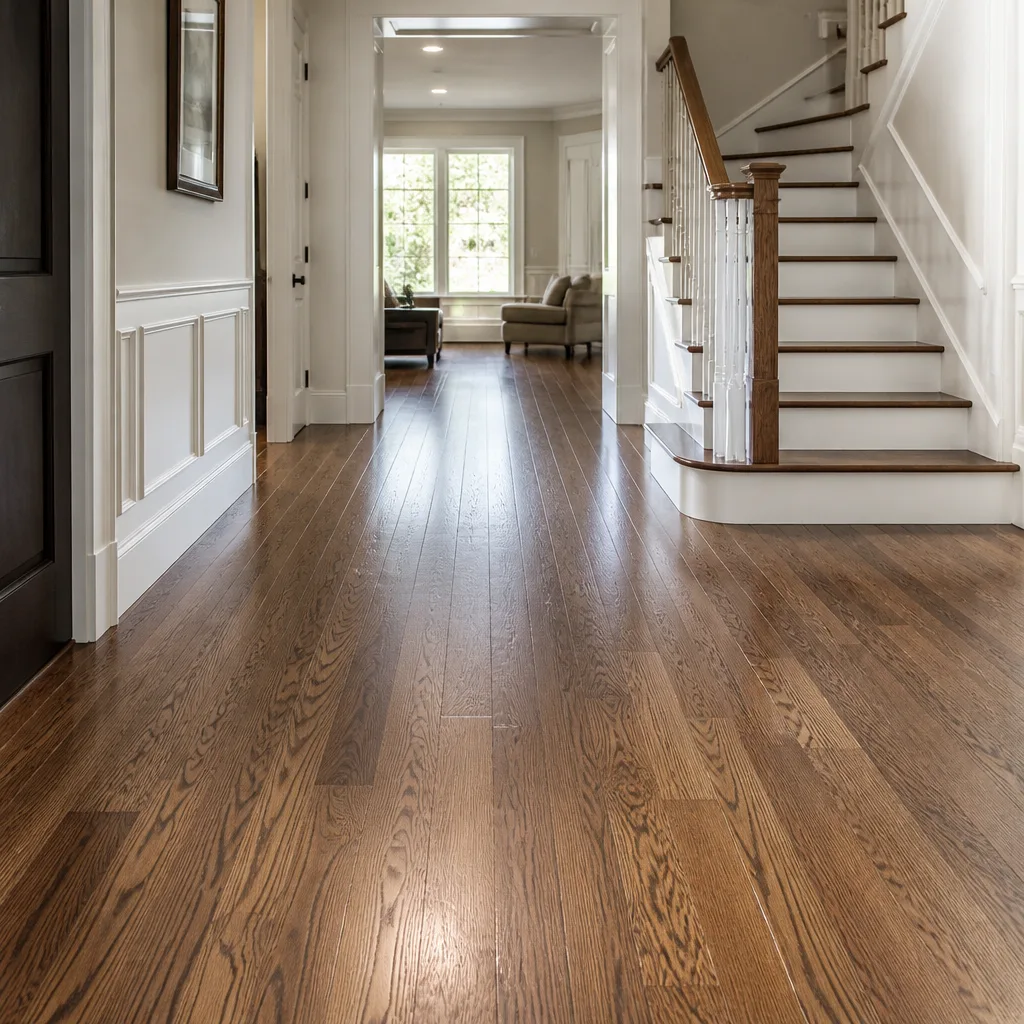 Hardwood
 Engineered hardwood
 Luxury vinyl plank
 Laminate
 Porcelain tile
 Carpet
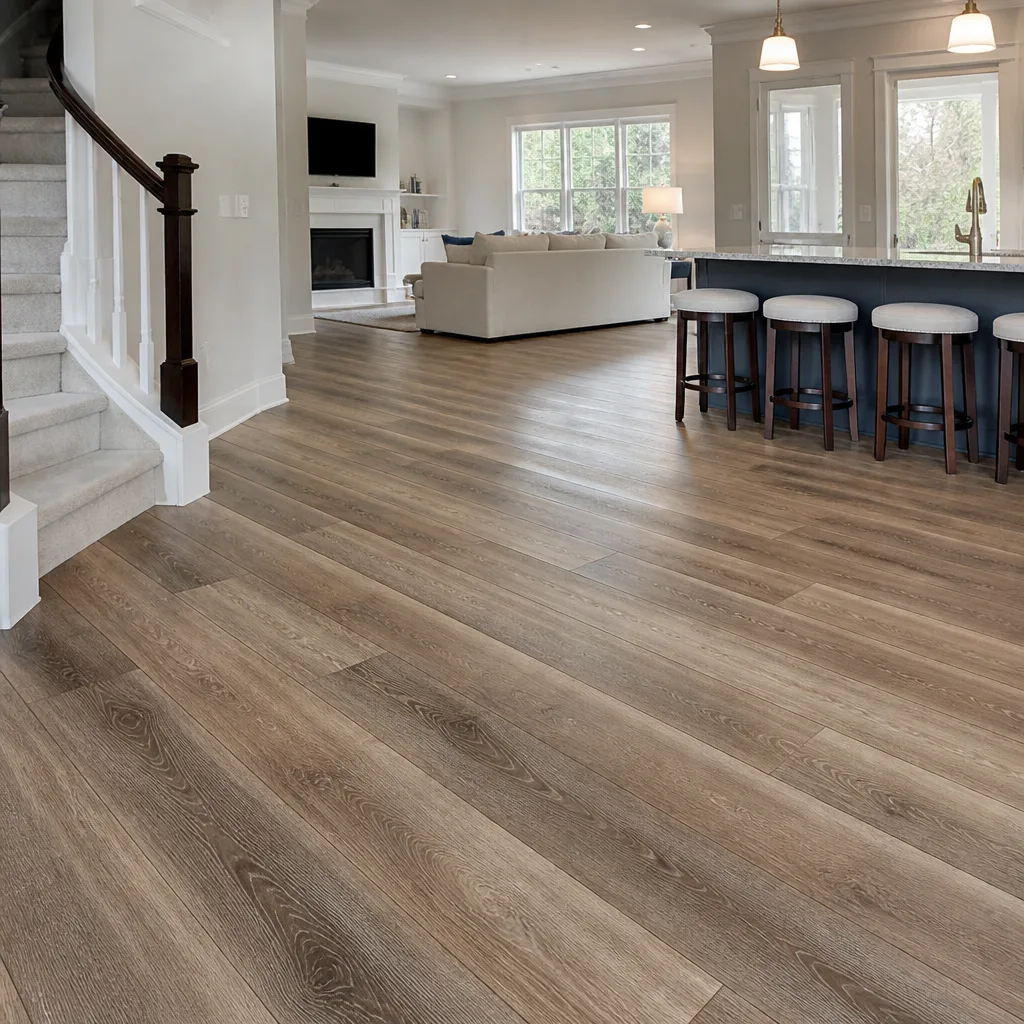 Shaw
 Mohawk
 COREtec
 Pergo
Free in-home measure and written estimate: Shaw, Mohawk, COREtec and Pergo lines compared on your own rooms, with carpet, tile, vinyl plank, laminate and hardwood laid out side by side
Get your free estimateHow to Prepare Your Home for a Flooring Installation in Mesquite
Most homeowners think preparing for a flooring installation means clearing the furniture and picking a color. That’s the easy part. The preparation that actually decides whether your new floor performs the way it should begins 48 to 72 hours before the first plank or tile goes down, and it involves things most installers never brief you on in advance: your HVAC settings, the condition of your subfloor, and how and where your material acclimates. A box of solid hardwood left to sit in a Mesquite garage in July is being damaged before it ever reaches the room it’s meant for, because acclimation depends on the conditions the floor will actually live in, not just any indoor space. This guide walks through the prep that protects your investment, from material storage to the conversations you should have with your installer before the crew arrives.
Quick Answer
To prepare your Mesquite home for a flooring installation, you need to do three things in the 48 to 72 hours before the job: bring the home to normal living temperature and keep it there, store your flooring material inside the room it will be installed in (never the garage or an unconditioned space), and check your subfloor for high spots, soft spots, and moisture problems so they can be addressed before the crew arrives. Everything else, from baseboards to appliance moving, is logistics you can plan around.
Styles & brands we work with
- Hardwood
- Engineered hardwood
- Luxury vinyl plank
- Laminate
- Porcelain tile
- Carpet
- Shaw
- Mohawk
- COREtec
- Pergo
Table of Contents
- Why Acclimation Works Differently in Mesquite
- Getting Your Home’s Temperature and Humidity Right
- How to Spot Subfloor Problems Before the Crew Arrives
- Room-by-Room Preparation Checklist
- Handling Baseboards, Appliances, and Existing Transitions
- What to Tell Your Installer Before Installation Day
- Preparation Differences by Material Type
- What to Expect on Installation Day
Why Acclimation Works Differently in Mesquite
Acclimation means letting your flooring material adjust to the temperature and humidity of the room where it will be installed before it’s laid down. In a mild coastal climate, this is a fairly forgiving step. In Mesquite, it isn’t. Our summers push past 110 degrees, winter nights drop toward freezing, and indoor humidity swings depending on how hard your air conditioning works. A floor that spent a week in a garage or a hot carport has absorbed conditions that have nothing to do with the room it’s headed for.
Here’s the problem. Wood, laminate, and luxury vinyl plank all expand and contract with temperature and moisture. If your material is installed before it has settled into the room’s actual conditions, it will move after installation instead of before it. That movement shows up as gapping between planks, cupping at the edges of hardwood, or tile grout that cracks along a seam. None of these are installation defects in the usual sense. They’re acclimation problems.
Where you store your material matters as much as how long. In Mesquite, the two worst places to store flooring before install are the garage and any storage space without air conditioning. Garages in this climate run significantly hotter than the house, and the temperature swing from day to night is larger than most people expect. A box of flooring stored there is not acclimating to your home. It’s acclimating to a garage.
Proper storage looks like this:
- Stack boxes flat in the room where the floor will go, not in a hallway or closet nearby.
- Keep them off a concrete slab if the room has one; a sheet of plywood or cardboard underneath works.
- Leave cartons sealed until the installer opens them. Opening them early lets the material take on moisture faster than it should.
- Don’t stack anything heavy on top that could warp the boards.
For tile and carpet, acclimation is less of a concern, but humidity still affects adhesives and carpet backing. Your installer will tell you what applies to the specific product you’ve chosen. That’s one reason picking your material early matters: the acclimation window starts when the material arrives, not when the crew shows up.
Our technicians have up to 12 years of experience with these materials in desert conditions, and we’ve seen how quickly a poorly stored box of hardwood can develop edge cupping before it’s ever installed. If you’re still choosing your floor, Flooring Mesquite works with nine name-brand lines, and we can help you match material to room conditions.
Getting Your Home’s Temperature and Humidity Right
Your home needs to be at its normal living temperature for at least 48 to 72 hours before installation, and it needs to stay there through the job. This means running your air conditioning or heat as you normally would, not shutting it off to save energy during the install. Some homeowners figure they’ll save a little by leaving the AC off while the crew is working. That’s the one thing not to do.
Here’s why. Every flooring material has a range of temperature and humidity where it behaves predictably. When your home is outside that range, the flooring expands or contracts, and the adhesive, grout, or fasteners set under the wrong conditions. The floor may look fine on day one. Then summer arrives, the house heats up, and the boards that went down tight start to buckle.
What to set and check:
- Keep the thermostat at your normal daytime setting for the full 48 to 72 hours before install and through the duration of the job. Don’t let the house drift.
- Check your humidity. Mesquite is a dry climate, but running a swamp cooler, a humidifier, or having a leaky bathroom fan can push indoor humidity well above normal. If the air feels damp or you’ve noticed condensation, mention it to your installer before the job.
- Don’t turn off the HVAC during the install. If you’re staying elsewhere for a night or two, leave the system running. A house that sits closed up with no air movement in July builds heat fast.
- Close the windows. In spring and fall, Mesquite weather invites open windows and cross breezes. During acclimation and install, keep the house closed and conditioned. Open windows let in dust and change the humidity inside the room by the hour.
- Confirm with your installer. Ask specifically what temperature range and humidity level they want to see. Every product has its own spec, and the written estimate should reflect that.
If your home has a slab foundation, the slab temperature matters too. A slab that’s been exposed to summer sun through unshaded windows can be much warmer than the room air, and that difference affects how an adhesive cures. Your installer will take readings; you don’t need to. But knowing this step exists is why you shouldn’t book installation during a week when your AC is being serviced.
How to Spot Subfloor Problems Before the Crew Arrives
The subfloor is the surface under your flooring, and it’s the single most common reason an installation gets delayed on day one. When we arrive and find high spots, soft spots, or a slab that reads wet, the job stops while we talk through repair options. That’s a day or more you didn’t plan for, and a cost that wasn’t in the original estimate. The fix is catching these issues during the estimate visit, not the install day.
You don’t need to test the subfloor yourself, but you can walk the room and look for signals:
- High spots. Lay a straight edge, like a level or a long board, across the floor in several directions. If it rocks or shows a gap under the middle, there’s a hump. High spots cause floating floors to bounce and tile to crack.
- Soft spots. Walk the room in your socks. If a section of floor gives under your weight, presses down, or feels bouncy, the subfloor underneath may be compromised by old water damage or a fastener that’s failed. Don’t ignore it.
- Moisture. Any dark staining, curling at the seams of sheet vinyl, or a musty smell near a bathroom or kitchen wall can point to moisture in the subfloor. A concrete slab that stays cool and damp even in summer is telling you something.
- Squeaks and movement. A floor that squeaks or flexes when you walk is a loud symptom of a loose subfloor. It will squeak louder once new flooring is on top.
During the estimate visit, we check for these with a moisture meter and a straight edge before quoting. That way any repair is in the written estimate instead of surfacing as a surprise charge. If the fix is significant, you’ll have a chance to decide how you want to handle it before the material is ordered.
One thing worth knowing about Mesquite homes in particular: many were built fast during the region’s growth years, and subfloor quality varies more than buyers expect, from well-built to builder-grade. A room that feels solid under carpet may hide a subfloor that needs leveling once the carpet comes up. That’s not a problem with the new floor. It’s a problem with the old one being hidden.
Room-by-Room Preparation Checklist
Once temperature, storage, and subfloor checks are handled, the rest is physical prep. Every room is a little different, so plan your week around the rooms being done first. Here’s a walkthrough of what a typical Mesquite home needs before install day.
Living room and bedrooms: Clear furniture out entirely, or move it to another room. Take down wall art near the floor in case of bumps. Clear closets if flooring extends inside them. Vacuum the old floor thoroughly; dust and grit under new flooring can cause ridges.
Kitchen: Empty lower cabinets, because installers often need to move baseboards and reach under the toe kick. If the flooring runs under the refrigerator, plan to move the appliance out and unplug it 24 hours ahead so the compressor isn’t running hot when it’s moved. Defrosting a freezer the night before is worth the trouble.
Bathrooms with tile: The toilet has to come up for tile installation so the flooring can run underneath it and the new wax seal can be set correctly. Plan for a day without that bathroom, and drain the toilet first. If the bathroom has a vanity that sits on the floor, ask during the estimate whether it can stay and tile up to the base, or whether it needs to move.
Laundry room: Disconnect the washer and dryer. Move the appliances out if new flooring goes underneath them. Drain the washer lines so nothing drips onto the new floor.
Hallways and transition rooms: Note where flooring ends and carpet begins, or where one floor meets another. These transitions are measured and cut to fit, and you’ll want to decide on the trim style before the crew arrives.
Every room in the house doesn’t need to be empty at once. Discuss with your installer which rooms will be done on which days so you can stage furniture in the rooms not yet being worked on.
Handling Baseboards, Appliances, and Existing Transitions
Baseboards are the part of this process homeowners under-plan most often. Some installations require the baseboard to be removed and reinstalled, others let the new floor tuck under an existing baseboard if the gap is deep enough. Ask during the estimate which applies to your material and your home so you’re not scrambling to find a trim carpenter on install day.
If baseboards are being removed and reinstalled, expect the trim to come off with some wall paint. Touch-ups are your job after the floor is down. Consider and settle on whether the new floor will change the finished floor height, because a taller floor can mean baseboards sit differently. Your installer should answer this question specifically.
Appliances are the other common sticking point. Anything heavy that sits on the floor being replaced needs to move: refrigerator, range, washer, dryer, and any furniture you can’t lift. Don’t store the old flooring or the new boxes in front of the appliances, because the crew will have to move them twice.
Existing transitions, the strips and thresholds where one room’s flooring meets another’s, need a plan:
- Between carpet and tile, a transition strip is usually needed to cover the height difference.
- Between two hard surfaces at the same height, a flat trim or thin profile works.
- At exterior doors, the transition should account for the door swing and any threshold that’s already in place.
If you’re replacing a floor in more than one room, bring a photo of each transition to your estimate appointment. That’s one of the details that gets lost in a phone quote and turns into a day-of surprise.
For tile transitions, our tile flooring installation team will measure and cut any transition pieces to fit the space, using porcelain or ceramic sourced from Daltile when the floor calls for it. For a continuous carpet edge, similar attention goes into matching height between the carpet and the adjoining floor during carpet installation.
What to Tell Your Installer Before Installation Day
The single biggest source of day-of change orders is information that never reached the installer. A homeowner who mentions a soft spot in the hallway a week ahead saves a day. A homeowner who mentions it when the crew is already cutting gives the crew a choice between pausing and laying over a problem.
Here’s the list to walk through with your installer before your install date:
- Where the material is stored. Confirm that your flooring arrived and where you’re keeping it. If it’s still in the garage, that needs to change before install day.
- What HVAC settings you’re running and whether the system has any issues. A weak AC unit during a hot Mesquite week means a hotter-than-normal room, and the contractor should know.
- Any subfloor concerns you’ve noticed. Soft spots, high spots, moisture, or a recent leak. Mention it now; nothing is lost by over-communicating here.
- Which appliances and toilets need to move, and whether you’re handling the disconnection or want it in the scope.
- Doors. If new flooring is thicker than the old, you may need to trim the bottom of doors so they clear. Say so early and ask who handles it.
- Where the crew can stage tools and materials, and which entry to use. A clear path from the front door to the work area saves time and protects carpet in the rooms not being replaced.
- Pets and kids. Install day involves open doors, dust, and moving furniture. Plan for a quiet, safe space away from the work area.
- Parking. If your neighborhood has HOA or street-parking rules, tell the installer. Truck access is one of those things that gets assumed and doesn’t always work.
A written estimate is your protection here. Everything you’ve discussed should end up in the estimate and the scope of work, so you know what’s covered, what materials are approved, and what the final price means for the specific job. If you’re comparing installers, ask each one whether they’ll walk the room with you and put these items in writing.
Preparation Differences by Material Type
Not every material needs the same prep. If you’ve narrowed your floor choice to a family, like luxury vinyl plank versus solid hardwood versus porcelain tile, here’s how preparation changes by category.
Hardwood: Solid and engineered hardwood require the most careful acclimation. Wood moves with humidity, so the room conditions during storage matter as much as during install. Keep boxes in the actual room, not the garage, and give them the full acclimation window your chosen product calls for. If you’re refinishing an existing floor rather than installing new wood, acclimation doesn’t apply, but the sanding still generates dust that you’ll want to contain. Restoring the hardwood you already have is an option for many Mesquite homes, and refinishing saves the material even if the old floor has cupped slightly.
Luxury vinyl plank: LVP and similar floating materials still expand with heat, so a box that sat in a hot garage needs time in the conditioned house. The material is water-resistant, not waterproof. Standing water and moisture coming up through a slab still need to be handled before install. If the room has a slab foundation, ask about moisture and vapor barriers.
Tile: Porcelain and ceramic tile need less acclimation than wood, but the subfloor matters more. Tile is unforgiving of a floor that flexes, because the grout and the tile will crack along the flex line. A subfloor that would tolerate carpet won’t necessarily tolerate tile. The prep for tile includes ensuring a solid, stable substrate and accounting for the added floor height that thinset and tile create.
Carpet: Carpet prep is mostly about the room being clear and the tack strip and pad being sized correctly. Acclimation matters less, but humidity affects how the carpet stretches and settles in.
If you’re still deciding between materials, it’s worth knowing that the biggest flooring decisions depend on room use as much as budget. A room used for tile in a bathroom is prepped differently than a bedroom where a name-brand luxury vinyl plank or hardwood goes down. Working with a contractor who handles multiple materials under a single relationship makes it easier to compare options side by side. Flooring Mesquite sources hardwood, carpet, tile, and luxury vinyl from nine name-brand lines, so your conversation can start with what you want to live on rather than what a single installer has on the shelf.
What to Expect on Installation Day
On the day your crew arrives, the preparation you did pays off. The room should be empty and conditioned, the flooring should be sitting in the room it’s being installed in, and your installer should arrive with a copy of the scope of work already agreed to.
A typical day looks like this:
- The crew arrives within the window you were given and walks the room again to confirm the subfloor and material are ready.
- Old flooring is removed and hauled out, which is the messiest part of the day.
- Any subfloor repair or leveling happens next, before new material goes down.
- Installation begins. The schedule for the rest of the job is confirmed at this point if it wasn’t already.
The installation length depends on material, room count, and how much subfloor work was needed. A single small room is a different job than a whole-home floor. The written estimate sets the scope and schedule, so treat that document as the answer rather than a phone-call estimate.
When the installation is finished, expect some dust and touch-up work. Vacuuming and wiping down surfaces after the crew leaves is normal. Foot traffic across the new floor should follow the guidance the crew gives you at the end of the job, and if your product needs to settle with furniture kept off it for a period, you’ll be told that too.
Common Mistakes to Avoid
- Storing flooring in the garage. This is the most common prep mistake in Mesquite, because garages are big and floors are boxes. A garage can be 20 or more degrees hotter than the house in July, and the material will acclimate to the wrong conditions.
- Turning off the AC to “save money” during the install. Your home needs to stay at living temperature for 48 to 72 hours before and during the job. Saved energy comes back as buckled boards or cracked grout.
- Waiting to mention a soft spot. If you feel the floor give under your socks, tell your installer at the estimate, not when the crew is cutting the tile. Subfloor repairs add time and cost, and surprise costs never feel fair.
- Opening the boxes early to “help.” Materials are packaged to protect the product from humidity changes. Opening the cartons too soon exposes them to the room’s air before installation, and that can affect how they perform.
- Not planning the bathroom toilet removal. Tile installation in a bathroom needs the toilet out. If you find this out on install morning, you’ll be draining and lifting a toilet under pressure.
- Underestimating the baseboard conversation. Whether baseboards are being removed, reused, or replaced needs an answer before install day. Getting it wrong means waiting on trim or settling for a look you didn’t want.
- Buying material before confirming the estimate. Material lead time is real, but so is the scope. Confirm the subfloor condition, the transitions, and the trim plan first so the material you buy fits the installation you’re getting.
See the difference
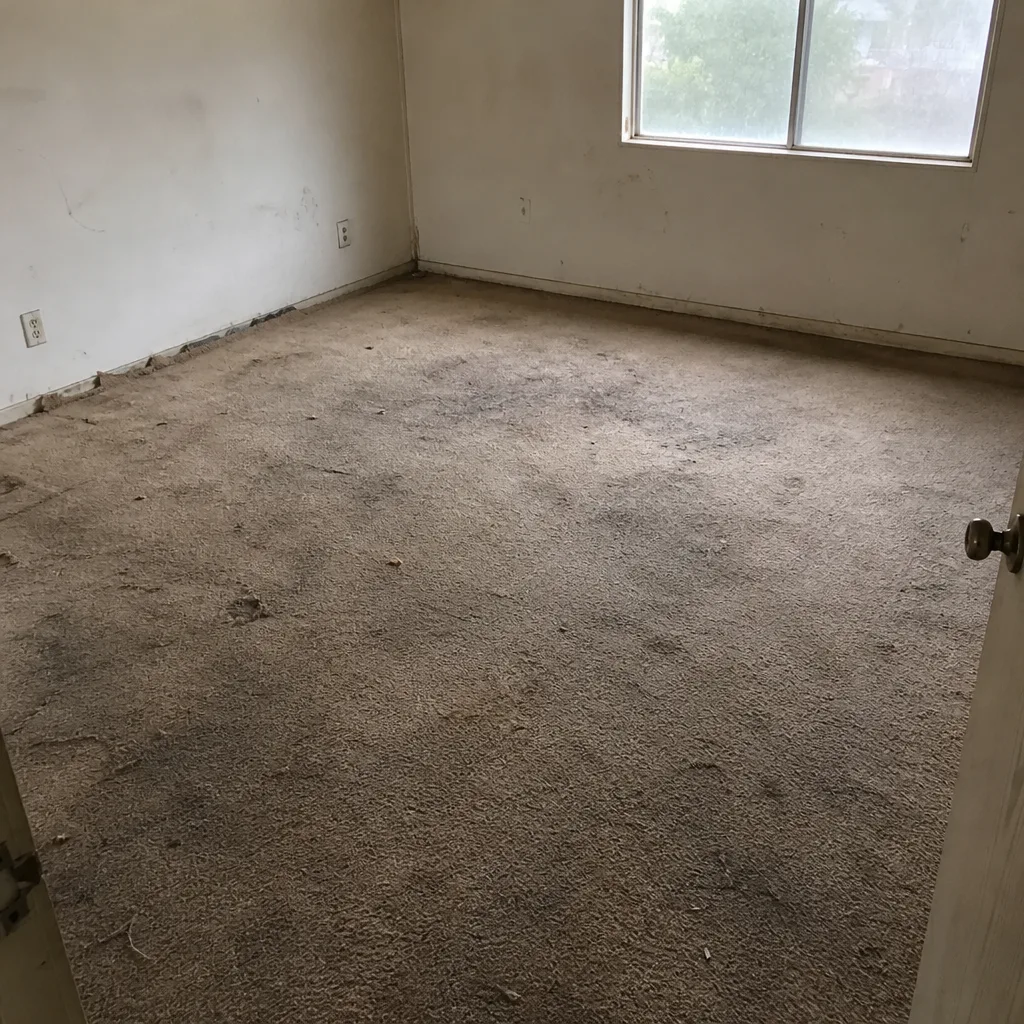 Before
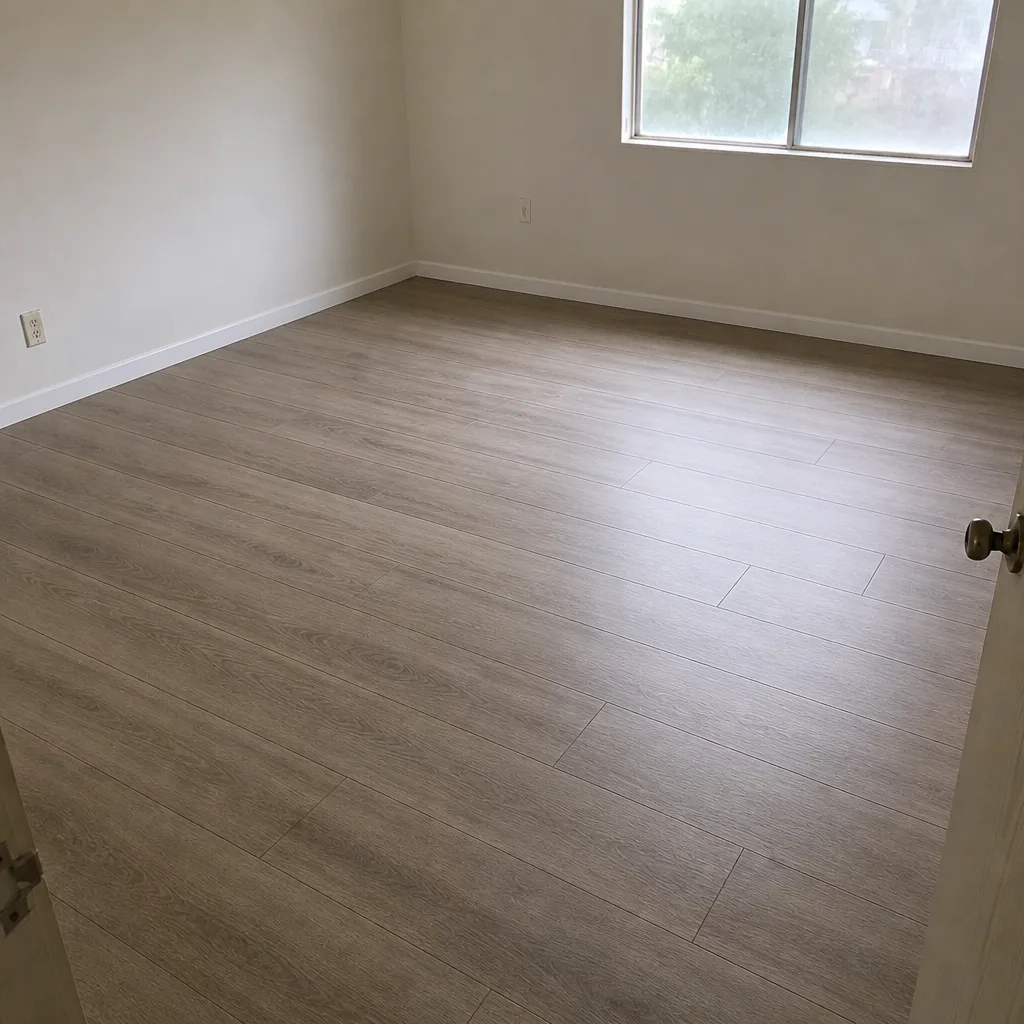 After
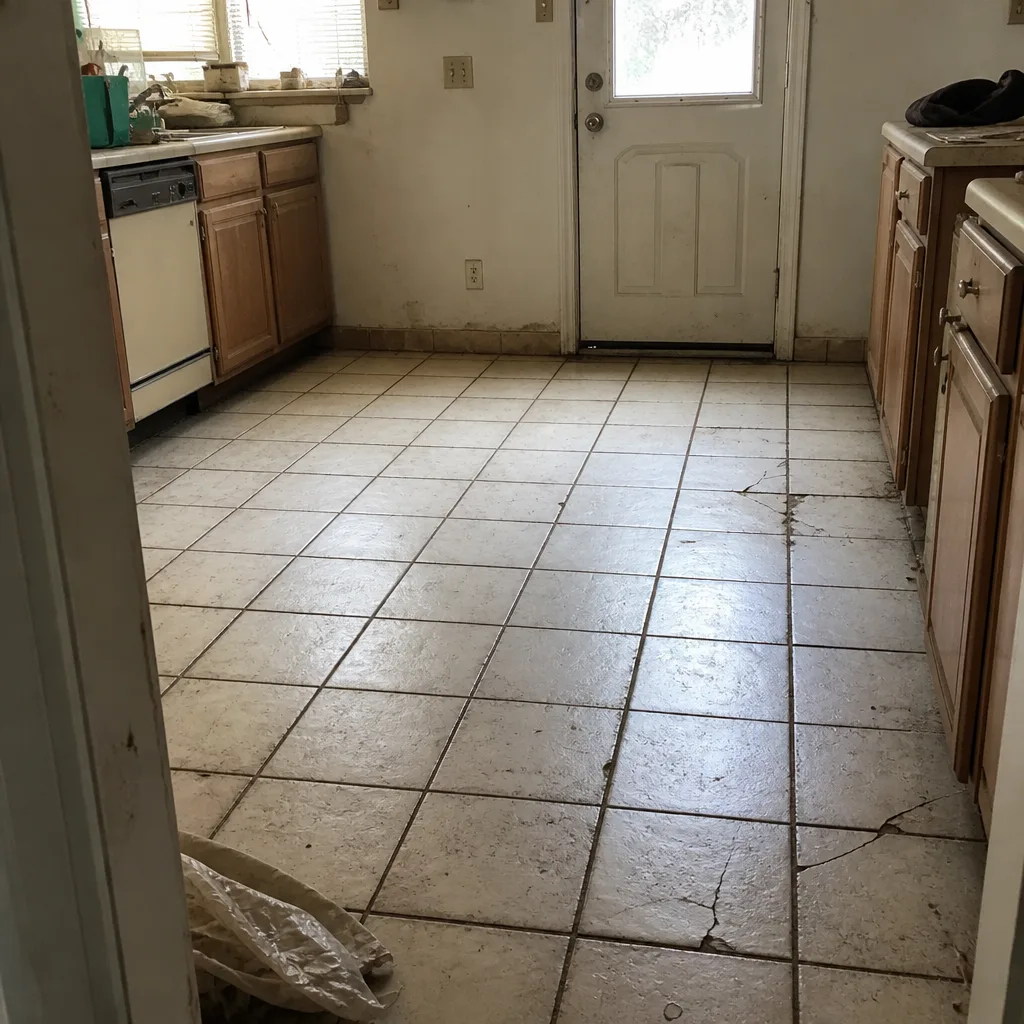 Before
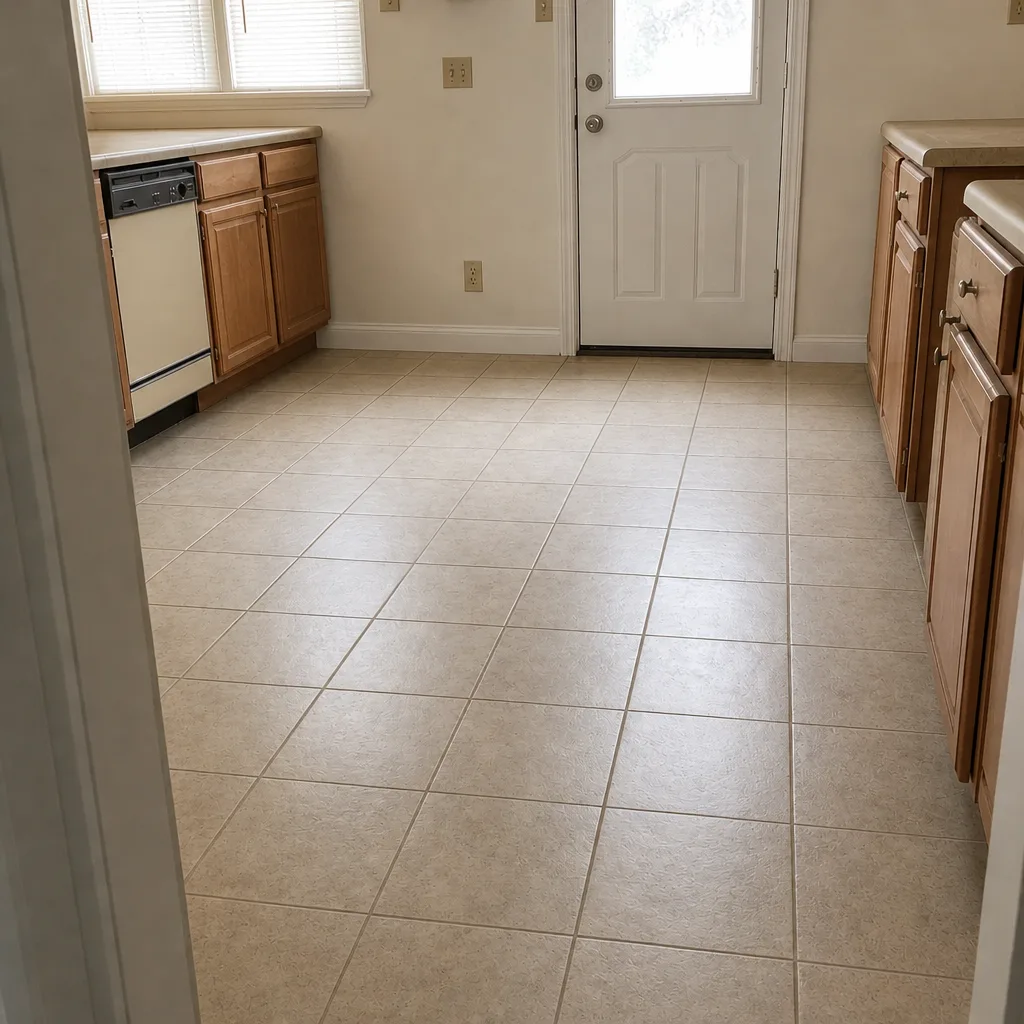 After
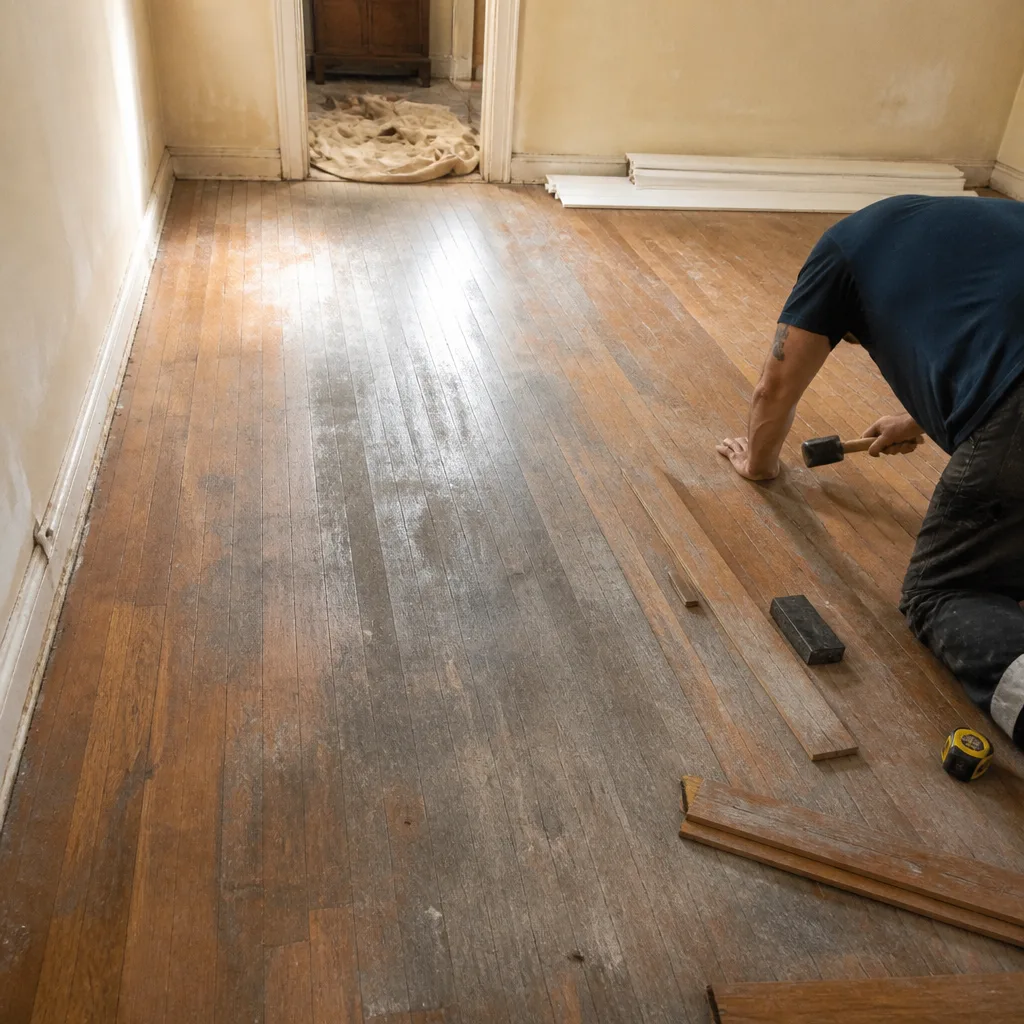 Before
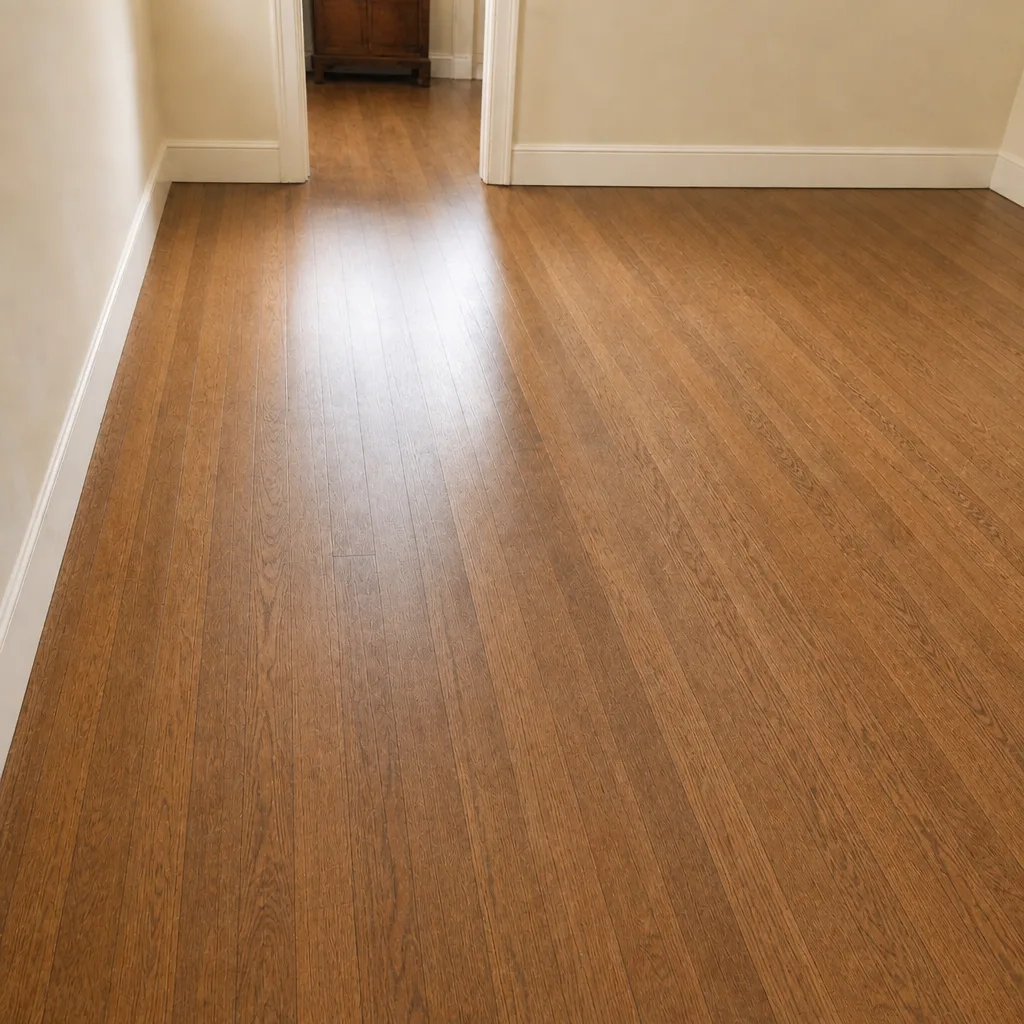 After
When to Call a Professional
Some preparation you can absolutely do yourself: clearing the room, moving furniture, keeping the house at temperature, and walking the floor for soft spots. Other parts should be handled by a trained crew. If you’re not sure how to read your subfloor, if a soft spot feels significant, if the room sits on a slab that stays damp, or if your floor plan involves transitions between three or more materials, that’s the point to call in someone who can check before choosing a product. The same is true if you’re considering refinishing existing hardwood rather than replacing it: what a floor can take depends on the thickness of the wood and its condition, which is checked at the estimate visit, not by guesswork.
Flooring Mesquite offers free estimates in Mesquite. Call (844) 560-4155 to schedule yours. We answer 24/7, with fast dispatch from 7am to 7pm, Sunday through Friday.
Frequently Asked Questions
Most flooring material should be inside your conditioned home for 48 to 72 hours before installation, and it should be stored in the room where it will be installed, not the garage. Your specific product instructions set the exact acclimation window, and your installer can confirm that window at the estimate. Call (844) 560-4155 for an exact quote; estimates are free.
Yes, most homeowners stay in the home during installation, but you’ll want to plan around the rooms being worked on. A bathroom tile job means that bathroom is unavailable for a day or two while the toilet is removed and the tile sets, and the kitchen may be off-limits during the work. Keep pets away from the work area and the open doors.
Mesquite garages get significantly hotter than the house in summer, and they lack the humidity control of the conditioned rooms, so material stored there acclimates to the wrong conditions. When it’s installed, it will move after installation instead of before, which shows up as gapping, cupping, or cracked grout. Store the material in the room where it will live.
Your home should be at its normal living temperature, the same temperature you’d keep it at during the day, for 48 to 72 hours before installation and throughout the job. Keep the HVAC running, close the windows, and don’t shut off the AC to save energy during the install. Confirm the exact range with your flooring product instructions and your installer.
Sometimes yes, sometimes no. It depends on your material, the gap between the existing baseboard and the old floor, and how much the floor height will change. Ask during the estimate so you know whether baseboard removal and reinstallation are in the scope, and whether you’ll need a trim carpenter for touch-ups afterward. Call (844) 560-4155 to talk through your room; estimates are free.
Walk the room in socks and look for soft or bouncy spots, lay a straight edge to find high points, and check for dark stains or a musty smell near bathrooms and kitchens. A moisture meter check belongs at the estimate visit, since a slab that reads wet will cause problems under new flooring. A professional can confirm whether repair is needed before material is ordered.
The Bottom Line
Preparing for a flooring installation in Mesquite comes down to three things that happen before the crew arrives: keep the home at living temperature and humidity for 48 to 72 hours, store the material in the room it will be installed in (not the garage), and check the subfloor so any repairs are in the estimate rather than in the middle of install day. From there, clear each room methodically, make a plan for baseboards, appliances, and toilets, and put every detail you discuss with your installer into the written estimate. Do this prep and the installation itself is routine. Skip it and the effects show up months later as gapping, cupping, or cracked grout.
If you’d like a professional opinion on your subfloor or your material choice before install day, or you’d like a written estimate with the scope fully laid out, call (844) 560-4155. We answer 24/7. Fast dispatch from 7am to 7pm, Sunday through Friday. Whether you’re considering hardwood refinishing or new flooring in Mesquite, the estimate visit is the step that saves you the most trouble, so start with that.
Written by the team at Flooring Mesquite.