
Last updated November 17, 2026
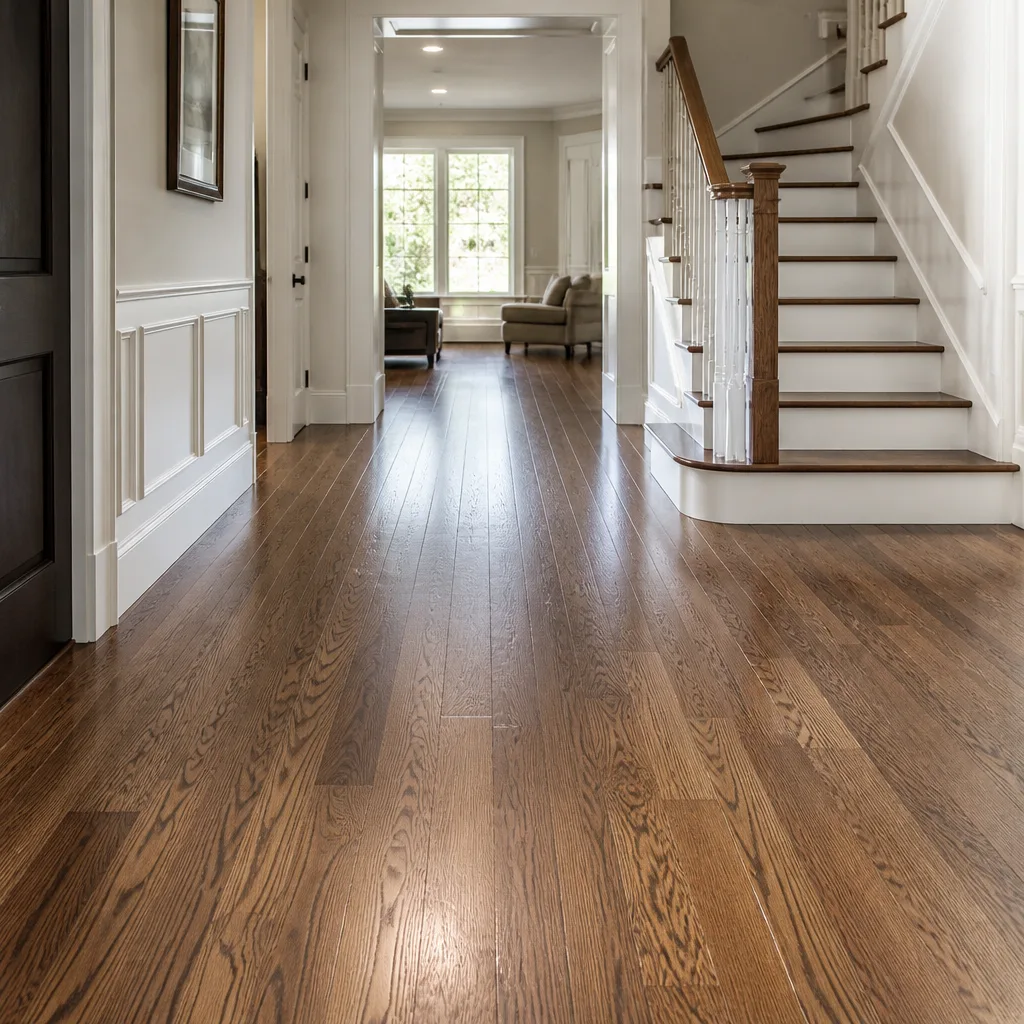 Hardwood
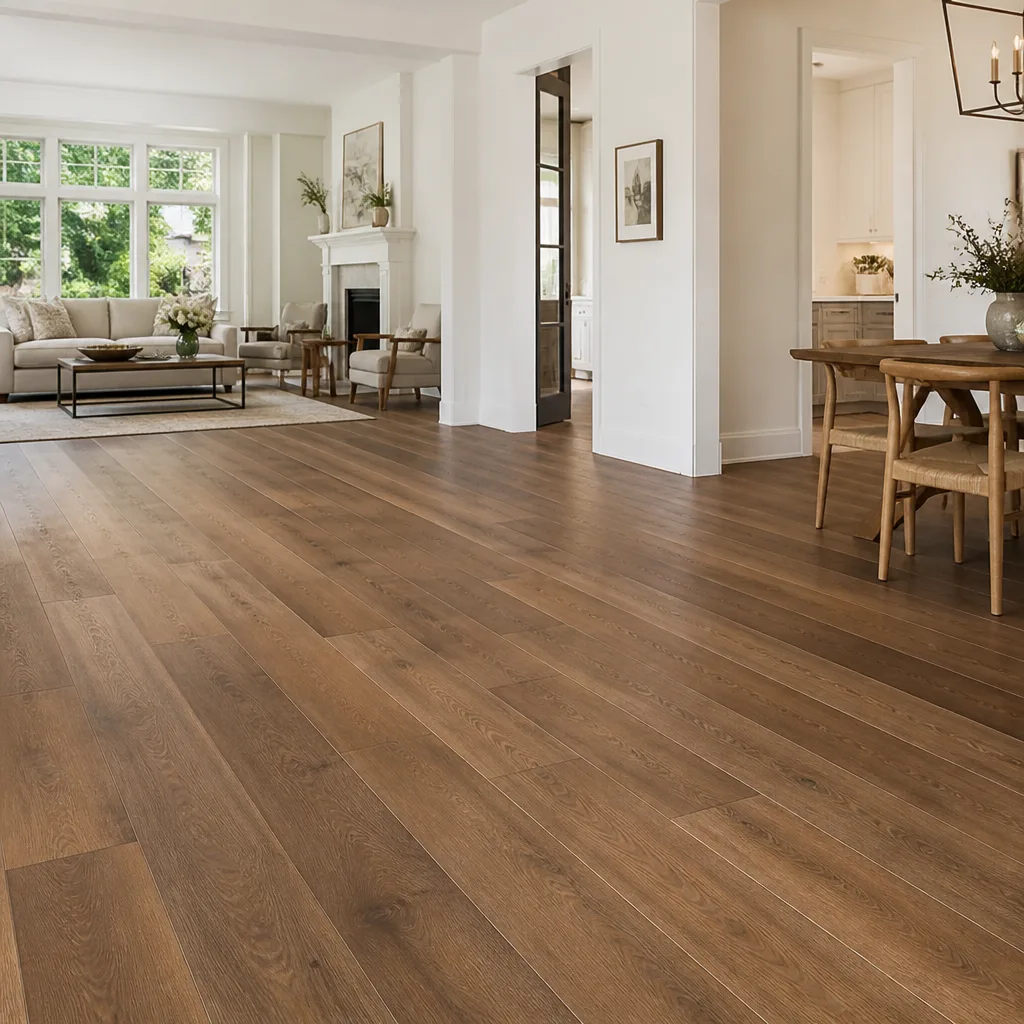 Engineered hardwood
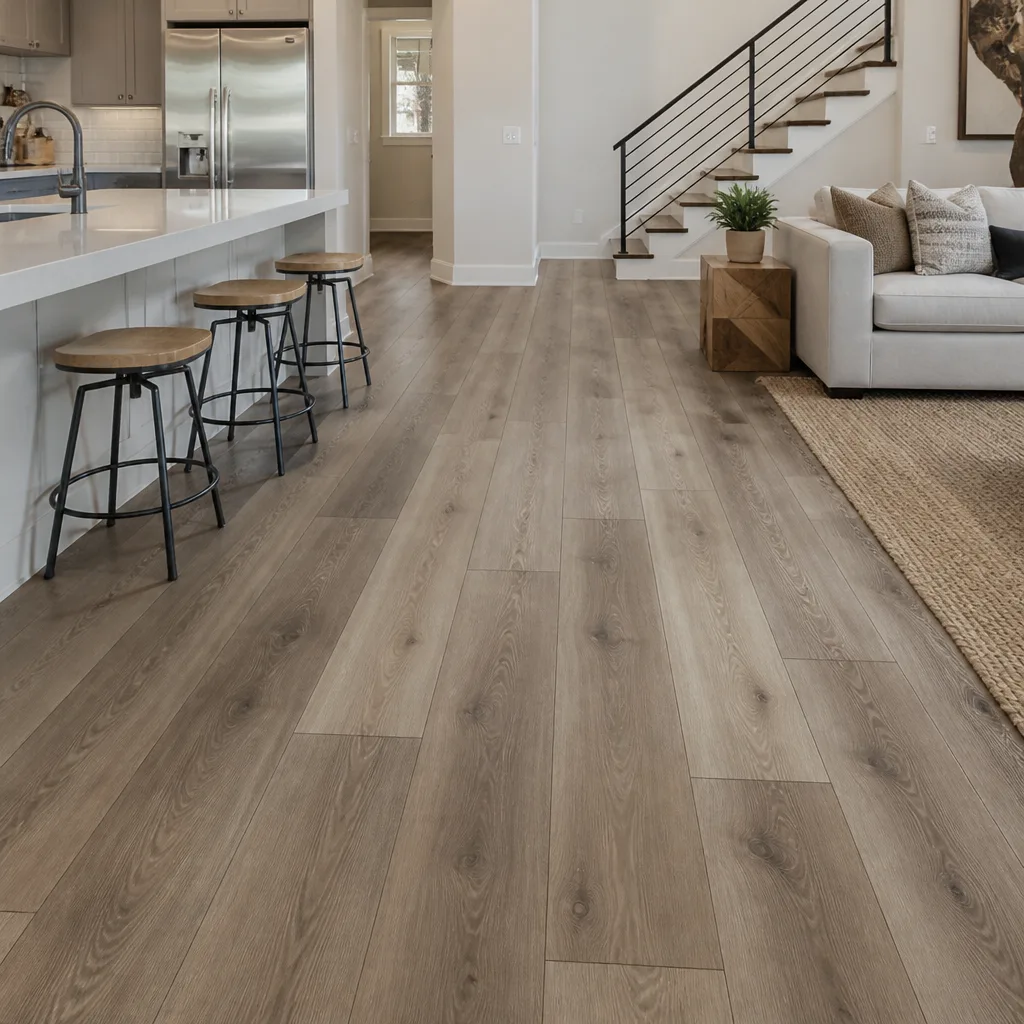 Luxury vinyl plank
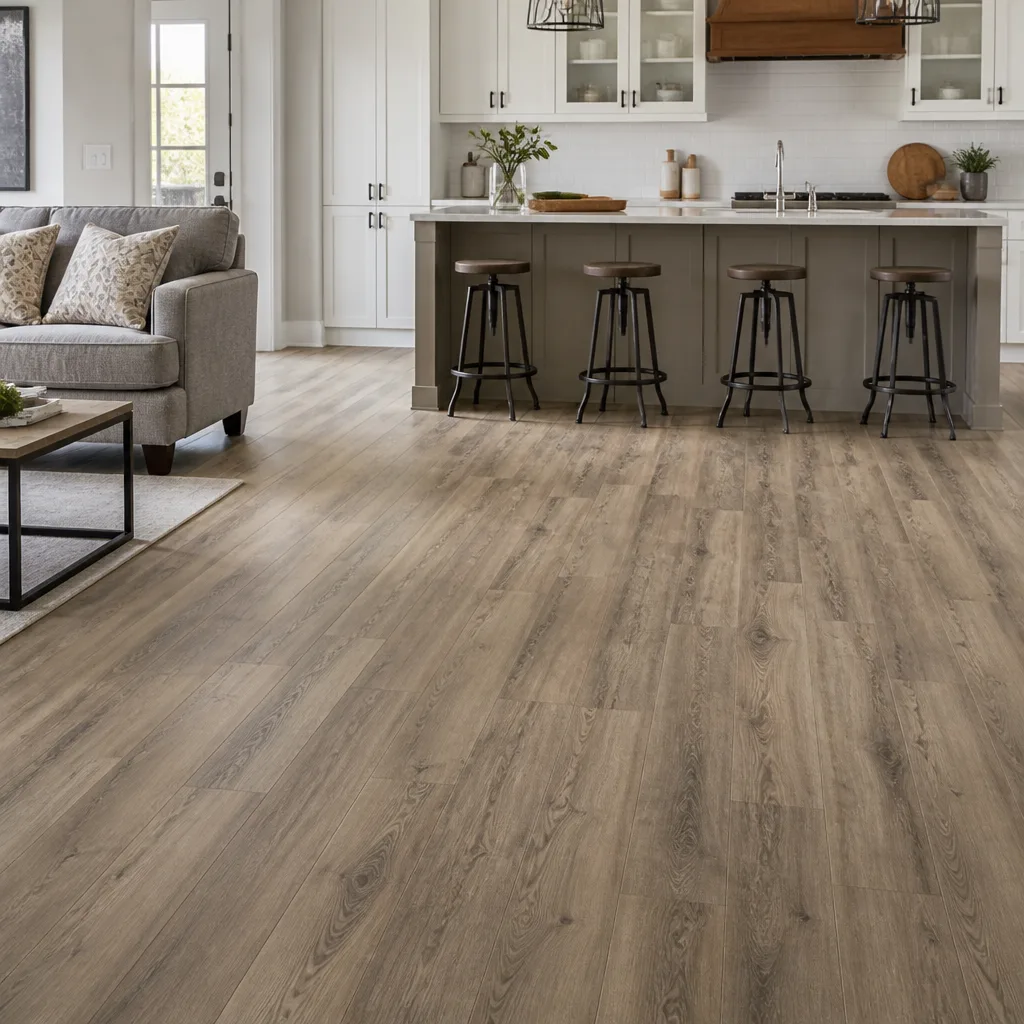 Laminate
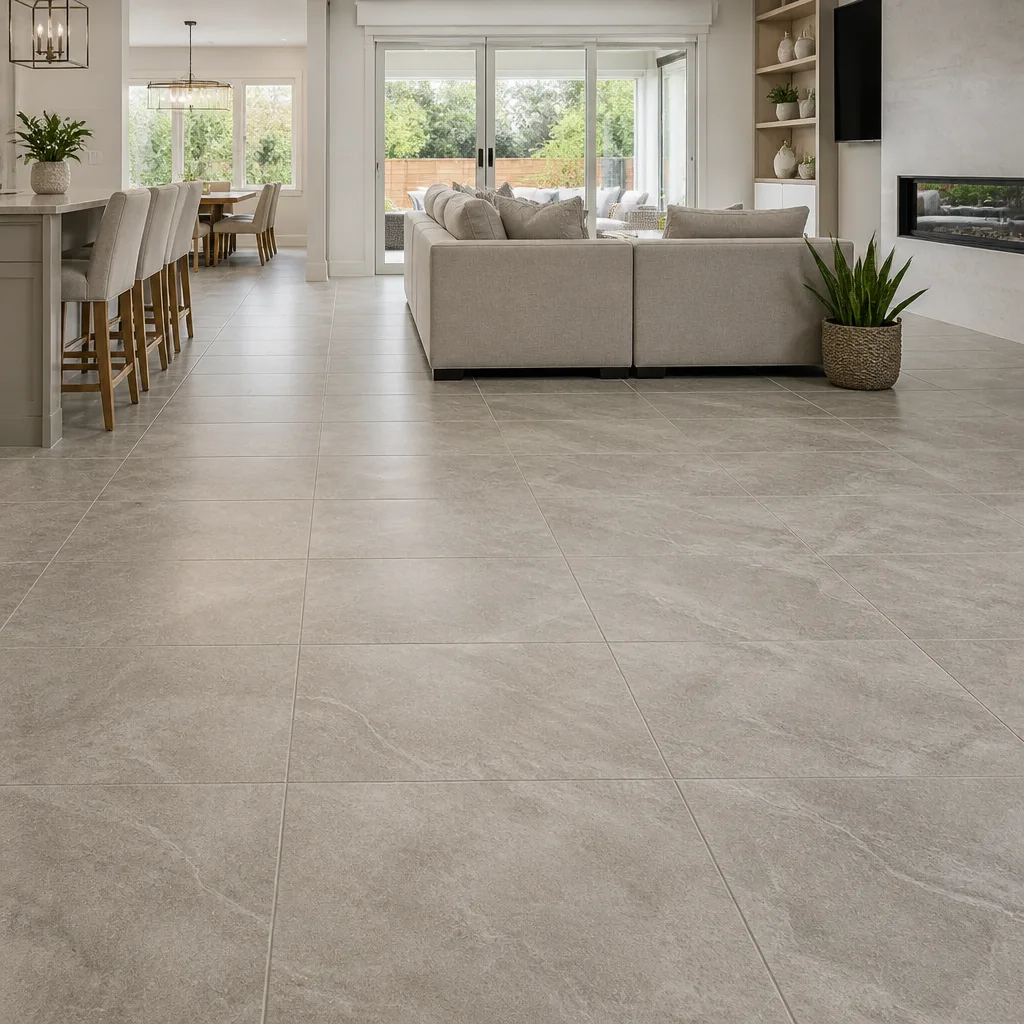 Porcelain tile
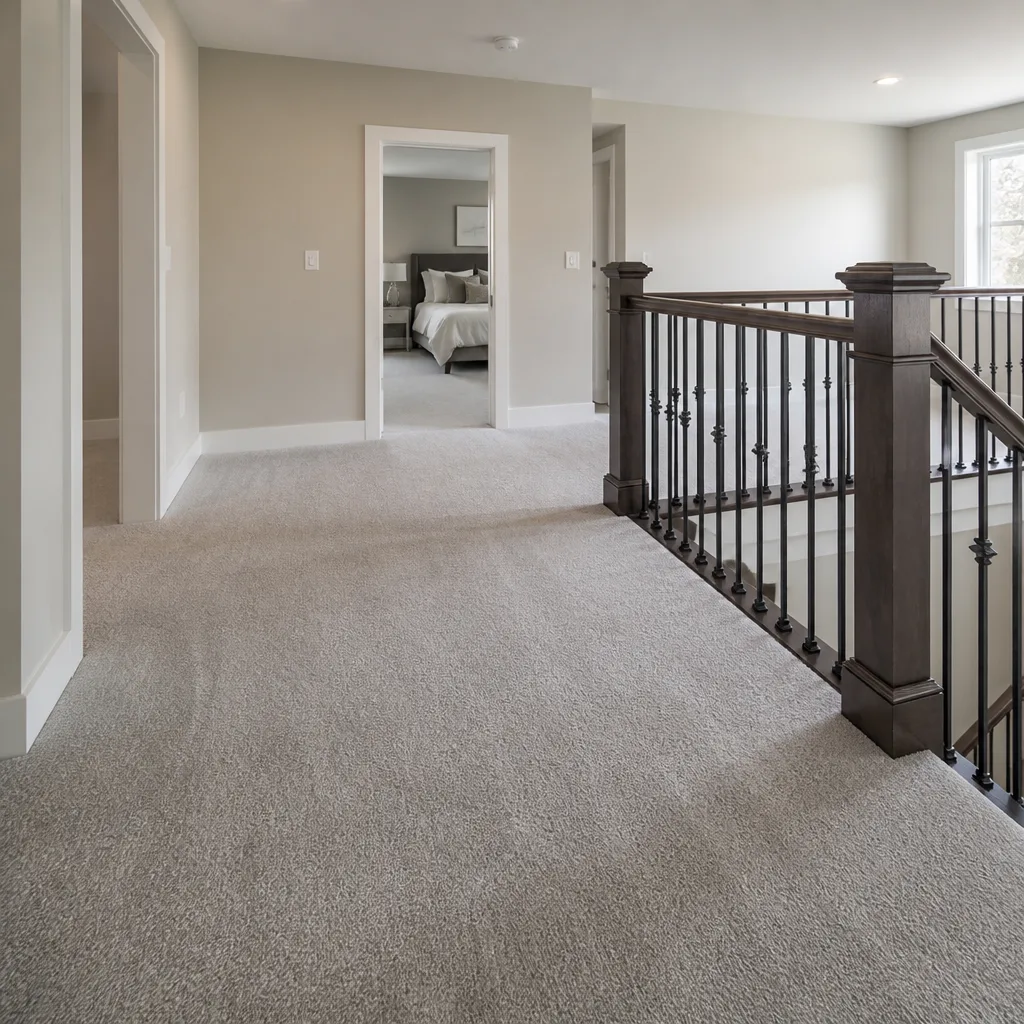 Carpet
 Shaw
 Mohawk
 COREtec
 Pergo
Free in-home measure and written estimate: Shaw, Mohawk, COREtec and Pergo lines compared on your own rooms, with carpet, tile, vinyl plank, laminate and hardwood laid out side by side
Get your free estimateFix It or Start Over: Flooring Repair vs Replacement
Most homeowners who call us about a damaged floor are asking the wrong question. They point at the cracked tile or the peeling plank and want it fixed, but the visible damage is usually the last symptom, not the first problem. Patching over a failed subfloor or a delaminating glue-down is just pre-paying for a bigger replacement job later. Whether you live in a newer build off the I-15 corridor or an older ranch home in Mesquite, the right decision starts underneath the surface. This guide gives you a diagnostic framework for figuring out what’s actually wrong, and whether a repair will hold.
Quick Answer
Repair makes sense when the damage is isolated to the surface layer and the subfloor and installation are sound. Replacement is the better call when the floor’s foundation has failed, when repair labor climbs toward 60-70% of a full replacement, or when the material has no wear layer left to work with. Hardwood refinishing often lands in between: it restores rather than patches or replaces, and it’s frequently the answer most comparison guides skip entirely.
Styles & brands we work with
- Hardwood
- Engineered hardwood
- Luxury vinyl plank
- Laminate
- Porcelain tile
- Carpet
- Shaw
- Mohawk
- COREtec
- Pergo
Table of Contents
- The Three-Layer Diagnostic: Surface, Wear Layer, Subfloor
- Hardwood Repair Thresholds: How Much Sanding Depth Is Left?
- Luxury Vinyl Plank: When a Plank Swap Holds and When It Doesn’t
- Tile: Grout Failure vs. Substrate Failure
- The Dry-Heat Problem: Hollow Spots That Look Fine But Sound Wrong
- The Cost Math: When Labor Tips the Scale Toward Replacement
- Hardwood Refinishing: The Option Between Repair and Replace
- A Step-by-Step Way to Make the Call
The Three-Layer Diagnostic: Surface, Wear Layer, Subfloor
You can’t judge a floor by looking at the top of it. A floor is a stack of layers, and each one fails differently. The diagnostic that matters looks at three things in order, and you can’t honestly evaluate the first without checking the third.
Layer 1: Surface Damage
This is what you see. A chipped tile edge, a gouge in a hardwood board, a scratch across a vinyl plank. Surface damage is often the most repairable kind because it’s confined to the topmost finish. It’s also the least important layer when you’re deciding between repair and replacement, which is the part most people get backwards.
Layer 2: Wear Layer Integrity
Below the surface sits the wear layer, the part of the flooring that does the actual work of standing up to foot traffic, furniture legs, and grit. On hardwood it’s the thickness of the wood above the tongue and groove. On luxury vinyl plank it’s the clear wear layer over the printed pattern. When the wear layer is compromised across a large area, a spot repair buys time but rarely solves the underlying problem.
Layer 3: Subfloor Condition
The subfloor is the structural deck under everything. If it’s flat, dry, and stable, most surface problems can be repaired. If it’s cupped, soft, or moving, a repair on top of it won’t last. In our experience, this is where most repair-vs-replace questions actually get answered, and where homeowners are most often surprised. A floor that looks worn can sit on a perfect subfloor. A floor that looks perfect can be sitting on one that’s about to fail.
One quick thing on safety: before you or anyone else starts prying at flooring to check the subfloor, know that some floors hide wiring, radiant heat elements, or plumbing that isn’t where you’d expect. A trained professional checks before opening anything up.
Hardwood Repair Thresholds: How Much Sanding Depth Is Left?
Hardwood is the one flooring category where the wear layer and the material are the same thing, which means the repair question is largely a question of thickness. Solid hardwood boards can only be sanded down so far before you hit the tongue and groove, and once you’re at that depth, the floor is done as a sandable surface.
There’s no universal number of sandings a floor can take. It depends on the original thickness of the boards, how evenly the floor was sanded before, and the condition of the wood itself. What we look for at an estimate:
- Remaining depth above the tongue: enough wood left to sand flat without exposing the joint.
- Board cupping or crowning: whether the boards will sand flat or need replacing first.
- Edge gaps and end-joint openings: whether the boards have shifted enough to make a sanding pass uneven.
- Localized damage vs. spread: one damaged board can be swapped; a floor with widespread wear or water staining across a room usually can’t.
If the answer is “there’s still wood to work with,” Flooring Mesquite can restore the floor you have rather than replace it. If there isn’t, a repair to a single area will only highlight how much the rest of the floor differs, and replacement becomes the more honest recommendation. That thickness check has to happen on site; we can’t make the call from a photo.
Luxury Vinyl Plank: When a Plank Swap Holds and When It Doesn’t
Luxury vinyl plank is the most common repair question we get in Mesquite, mainly because it’s the most installed floor in newer homes and remodeled rooms. It’s also the easiest floor to misjudge, because the failures that matter are usually under the plank, not on it.
Click-lock LVP is repairable in a specific set of conditions. The lock system has to be intact at the seams nearest the damaged plank, the subfloor has to be flat, and the replacement plank has to come from the same product line so the pattern and thickness match. If all three are true, a plank swap is a clean two-hour job. If any one of them isn’t true, the repair will fail at that seam later.
Here’s what actually breaks the repair case:
- Compromised locks: once the lock joint at a seam is damaged, the next plank in line will separate too.
- Pattern discontinuation: if the manufacturer no longer makes the plank, a swap won’t match. Mohawk, COREtec, Pergo, and LifeProof all update product lines, so this is a real consideration.
- Moisture under the plank: LVP is water-resistant, not waterproof. Standing water and moisture coming up from below still have to be dealt with, and a new plank on a wet subfloor just repeats the failure.
- Widespread lifting at seams: if multiple planks are lifting across the room, the issue is the installation or the subfloor, not the individual plank.
The most useful thing to know about LVP repair: if the plank swap is going to work, it usually takes less than an hour to know. If the seams aren’t holding after the swap, that’s the signal to stop patching and look at replacement.
Tile: Grout Failure vs. Substrate Failure
Tile looks simple until you have to decide why a crack appeared. The distinction that matters is between a grout problem and a substrate problem, and the two look similar from standing height.
Grout Problems
Grout is the flexible joint between tiles. It shrinks and cracks over time, especially in a floor that’s seen regular temperature swings or a house that’s settled. A single cracked grout line, with the tile itself intact and stable, is a grout repair, not a tile repair. Regrouting that joint is generally fast and doesn’t require lifting the tile.
Substrate Problems
If the tile itself is cracked, or if the grout fails along a line that maps to a seam in the subfloor beneath, the issue is the substrate, not the grout. Cracked tile caused by subfloor movement will crack again after regrouting. This is the single most common tile misdiagnosis we see in Mesquite.
Porcelain and ceramic tile is only ever as stable as the subfloor under it. If you’re not sure which failure you’re looking at, tap the tile carefully with something solid and listen for hollow spots – then stop and get a professional to look. Walking on a floor with an active substrate failure can crack more tile. Our tile flooring installation team checks substrate condition first, because a repair installed over a moving subfloor is money spent twice.
The Dry-Heat Problem: Hollow Spots That Look Fine But Sound Wrong
This is the Mesquite-specific failure pattern worth knowing about, and it’s one we see more than most homeowners expect. Mesquite’s dry desert heat drives significant seasonal movement in wood subfloors. As the relative humidity swings from summer to winter, subfloor panels can shrink at their seams, which opens gaps under tile and under glue-down floors.
What that produces is a floor that looks normal but sounds wrong. It’s smooth, it’s the right color, and then you walk across it and hear a hollow tap, or you find a small gap along an expansion joint that wasn’t there before. If a tile or a glue-down plank has lifted cleanly from the substrate with no visible damage to the tile or plank itself, that’s the signature of a substrate movement problem, not an installation problem.
A few things we monitor in Mesquite homes:
- Seasonal movement at tile transitions: a grout joint or a tile plane that shifts between seasons.
- Glue-down edges lifting: if the perimeter of a glue-down floor lifts, the adhesive bond is failing, not the flooring material.
- Hollow spots appearing in clusters: scattered hollow sounds are normal; a line of them is a substrate signal.
Repair on a Mesquite dry-heat hollow spot means addressing the gap under the tile or plank, not just re-gluing or re-grouting. If that stabilization isn’t part of the repair, the same hollow spot comes back.
The Cost Math: When Labor Tips the Scale Toward Replacement
Most repair-vs-replace comparisons compare material costs. That’s the wrong comparison. The cost of installation labor is largely fixed regardless of how much floor you’re installing, which means the useful comparison is repair labor vs. the full-replacement labor you’re already paying for.
When you’re repairing a failing floor, you’re typically paying for a technician to travel to the site, diagnose the problem, prep the area, do the repair, and clean up. That setup and teardown cost is mostly the same whether the repair covers 50 square feet or saves 400 square feet from being replaced. So the relevant question isn’t “does the repair cost less than a new floor” – it’s “does the repair cost less than the full replacement labor I’m going to pay for anyway once this repair fails?”
As a rule of thumb we use when advising a customer:
- Estimate the repair as a percentage of full replacement. If a partial repair’s labor alone is approaching 60-70% of the total replacement cost, replacement is usually the better economic call, because you’d be paying almost the full setup cost twice.
- Check whether a refinishing option exists. Hardwood refinishing is often 20-40% of the cost of replacement over the same area, which changes the math significantly.
- Factor in the probability the repair will hold. A repair on a failed subfloor isn’t 100% effective, and if there’s real doubt, replacement is the more predictable spend.
- Account for the material cost of matching. Mismatched replacement planks or tiles can make a repair look worse than the original damage did.
The written estimate is where this gets real. We give a line-item estimate for both paths at the same visit, so you can compare them directly rather than guessing at a percentage. Estimates are free, and the price for either path is set by the written quote, not by a range.
Hardwood Refinishing: The Option Between Repair and Replace
Hardwood refinishing is the most underrated option in the repair-vs-replace conversation, mainly because most comparison guides treat it as a maintenance task rather than a strategic choice. It’s neither. Refinishing is a way to restore the surface of a floor you already have without removing a single board, and it sits between patching a section and replacing the whole floor.
Here’s when it’s the actual answer:
- The floor has surface wear but sound structure. Surface scratches, dull finish, worn traffic lanes: refinishing restores the top, and the floor underneath is still doing its job.
- The damage is spread but not deep. A finish that’s failed across the whole room can be sanded and refinished without touching the boards.
- There’s depth left above the tongue. If the boards have already been sanded close to the tongue, refinishing won’t work and the floor is a replacement candidate.
- You want a different finish or color. Refinishing lets you choose a new stain and sheen without tearing out the original floor, if the wood will accept the new finish. Whether a specific floor can be refinished to a specific stain depends on the wood’s thickness and condition, and it’s checked at the estimate.
Flooring Mesquite treats refinishing as a standalone service, separate from installation. That means a homeowner asking “can I fix this?” often gets a different answer than “can I replace this?” The answer is sometimes “refinish it,” which is a third option most of the comparisons you’ve read don’t include.
A Step-by-Step Way to Make the Call
If you’re standing in front of a floor that’s failing and don’t know where to start, here’s the sequence we recommend. It mirrors the diagnostic we run at an estimate.
- Name the visible problem. Is it a cracked tile, a peeling plank, a worn finish, or a gap? That’s the surface layer, and it tells you which repair path is on the table.
- Check whether the problem is isolated or repeating. One damaged spot is a candidate for repair. The same spot twice, or the same problem across a room, points to a layer below.
- Tap-test for hollow spots and listen. This is the fastest way to find a substrate problem, especially in a Mesquite home with seasonal movement. If the sound changes across a line, stop and get the subfloor looked at.
- Check whether the material can be matched. If the product line is discontinued, a spot repair will show. Replacement may be the only option that looks clean.
- Get a line-item estimate for both paths. Compare repair labor, refinishing cost, and full-replacement cost on the same page, so the decision is numerical rather than emotional.
- Factor in how long a repair buys you. A repair that pays off for years is a good spend. A repair that fails in a season is a deferral.
That last point matters more than any of the others. A repair isn’t a decision you make once; it’s a decision about when the replacement happens, not whether. If a repair buys you a decade, do it. If it buys you one season, replace.
Common Mistakes to Avoid
- Patching surface damage without checking the subfloor. A repair on top of a failing subfloor is the most reliable way to waste money and time in the same job. Check the layer beneath before you patch the layer you can see.
- Regrouting over a substrate problem. If the tile or substrate is moving, new grout will fail at the same line. Grout is a symptom, not the cause, when the crack maps to a subfloor seam.
- Forgetting that LVP is water-resistant, not waterproof. Standing water and moisture coming up from below are a separate problem, and a new plank won’t fix either. Treat the moisture source first.
- Matching a discontinued product. If the original plank or tile is no longer made, a spot repair shows the difference and often looks worse than the original damage. Confirm the product is still available before you plan a repair.
- Assuming every hardwood floor can be sanded again. It depends on how much wood is above the tongue. A refinishing estimate that doesn’t check board depth isn’t a real estimate.
- Comparing repair cost against material cost only. The right comparison is repair labor against the full-replacement labor you’d pay anyway. Material cost is the smaller part of the decision.
- Treating a Mesquite dry-heat hollow spot as cosmetic. A hollow sound that’s new or appeared in a cluster is a substrate signal, not a quirk. Have it looked at before the next season of temperature swings.
See the difference
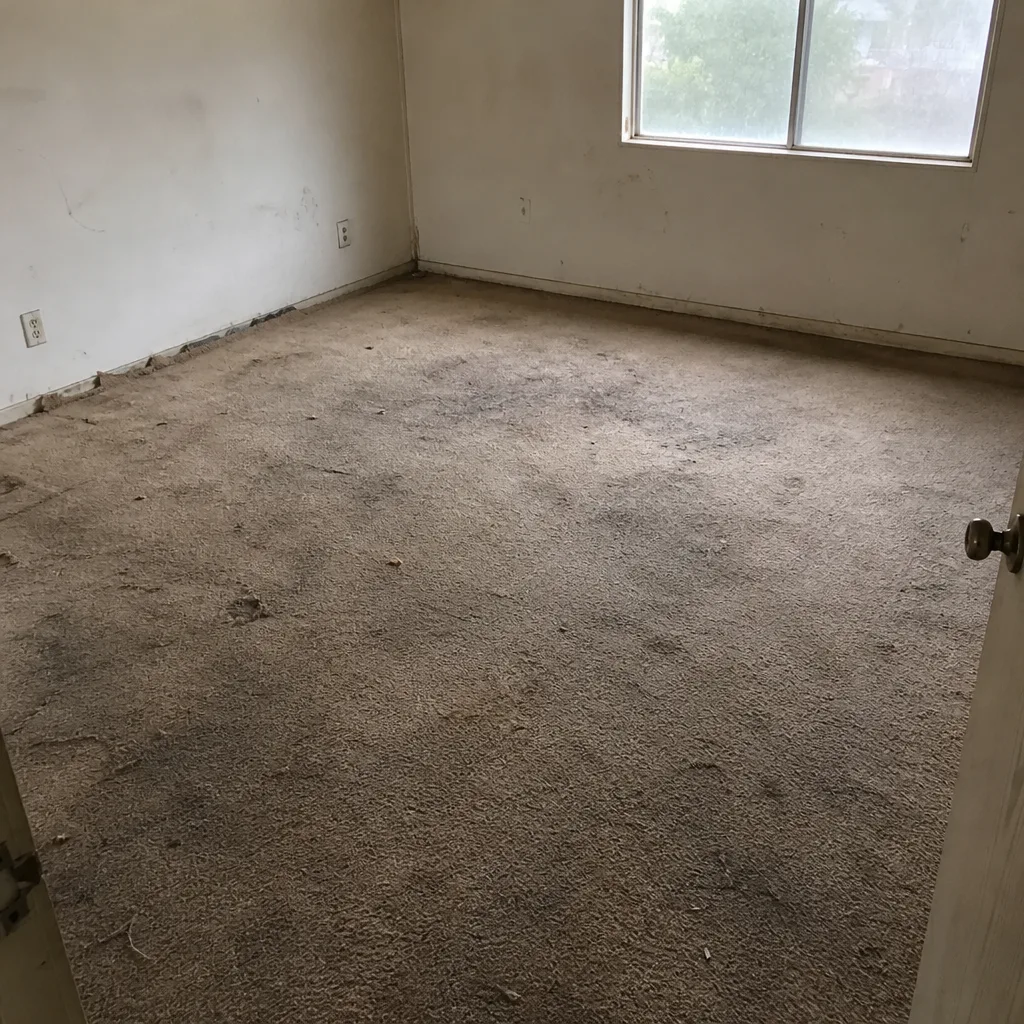 Before
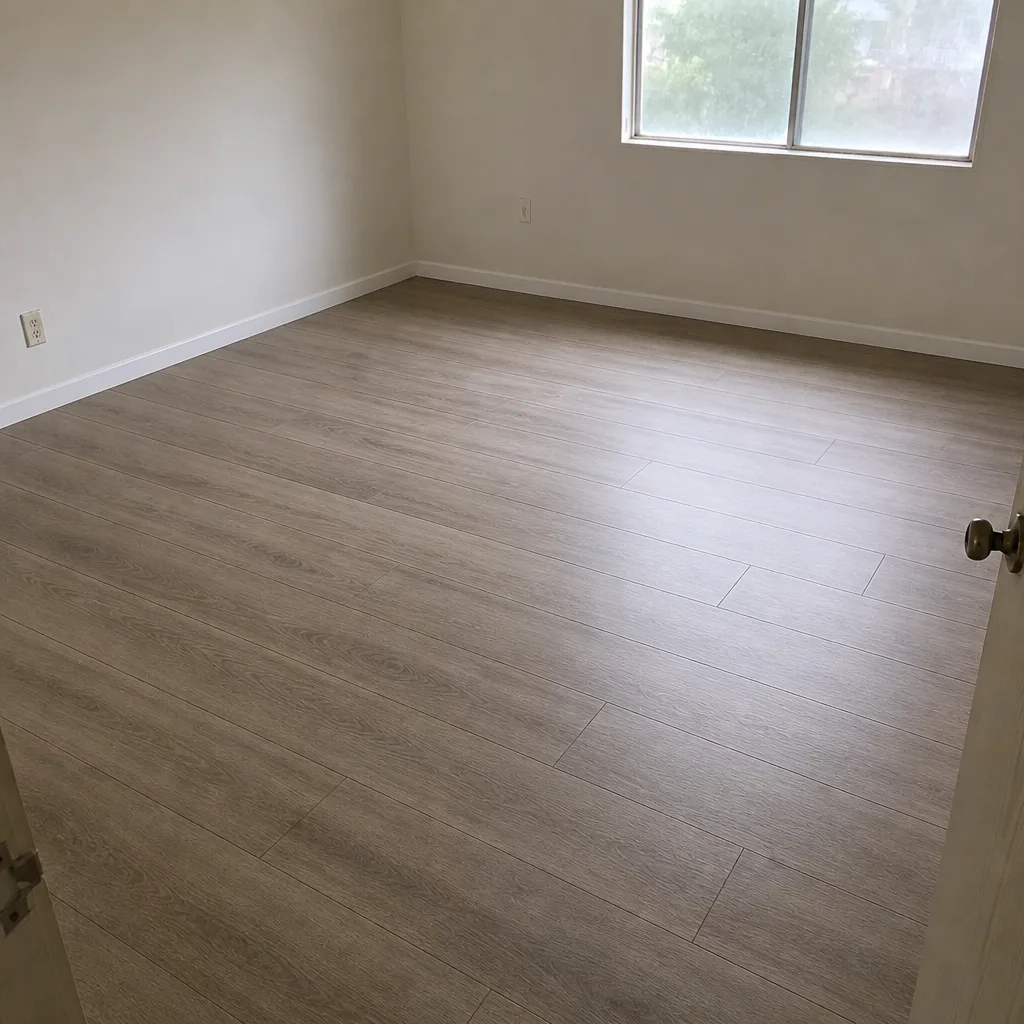 After
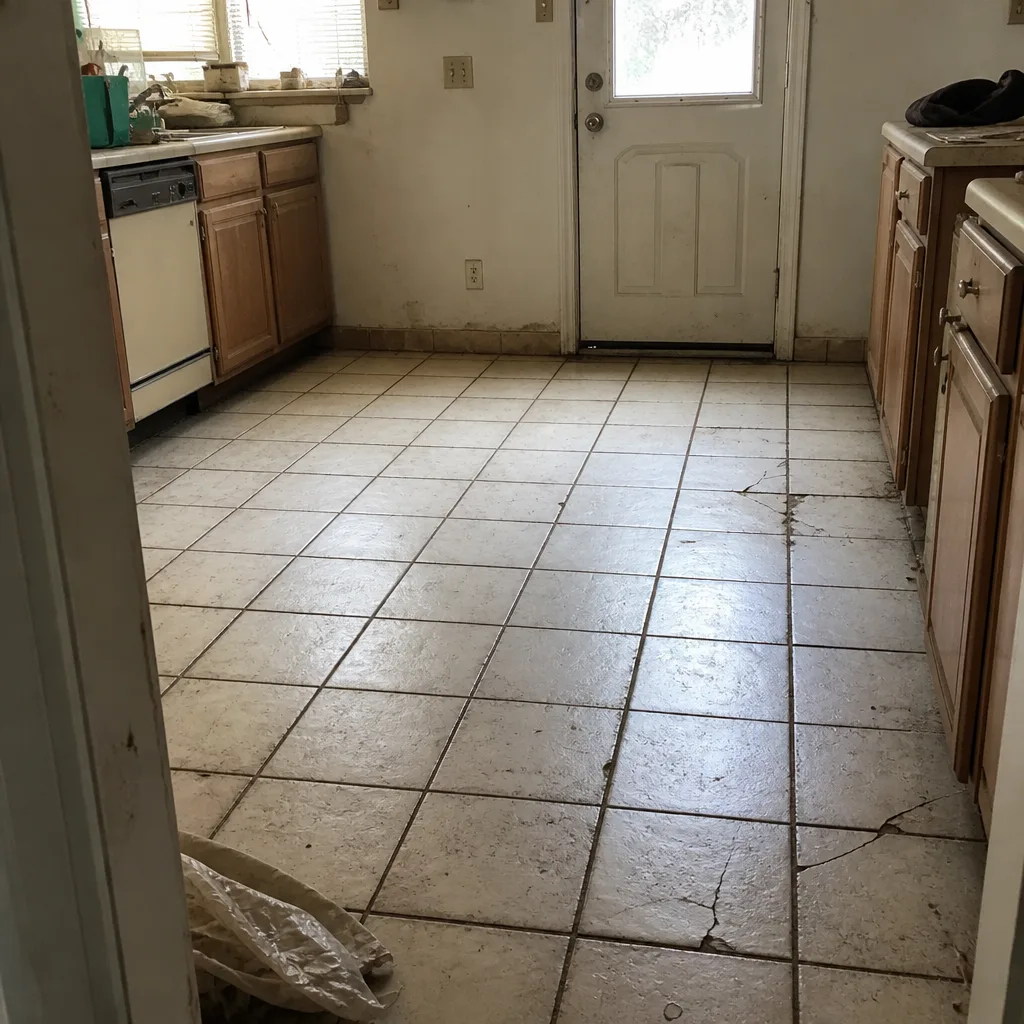 Before
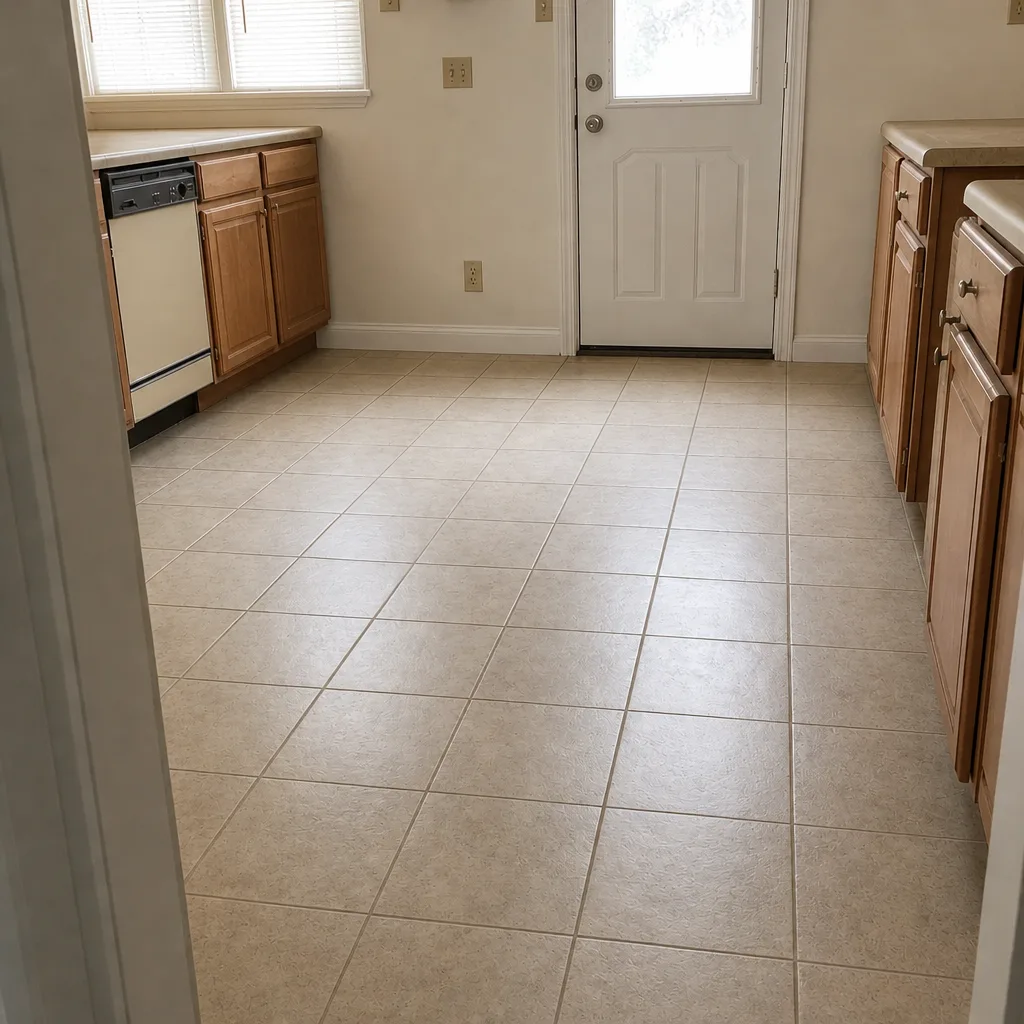 After
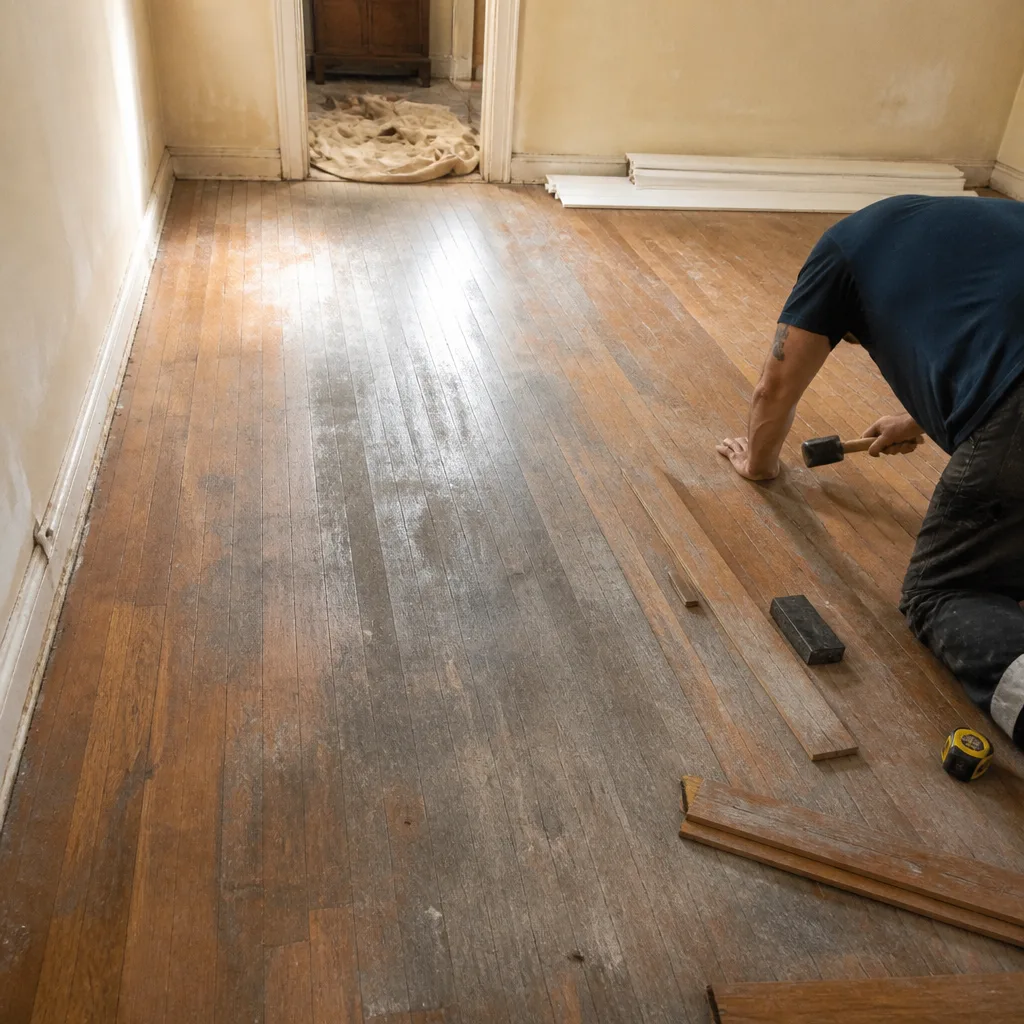 Before
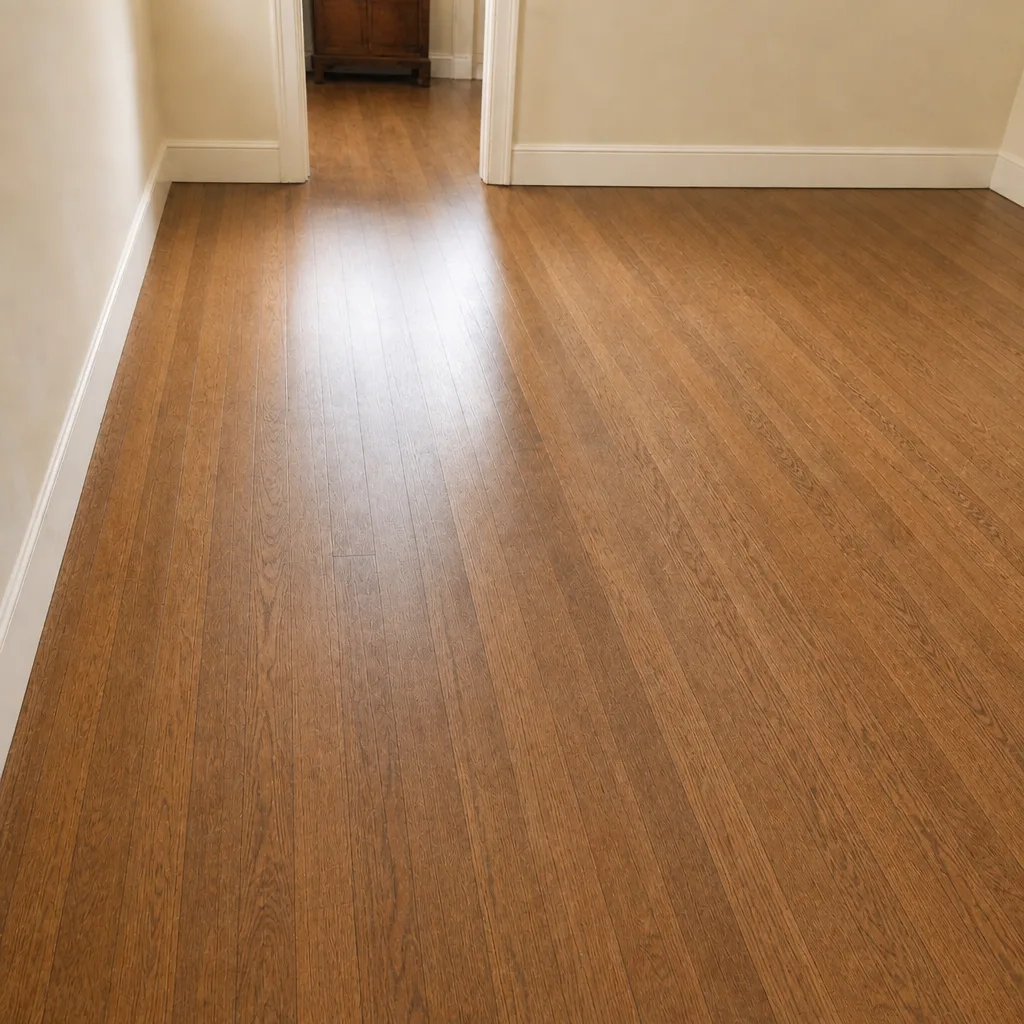 After
When to Call a Professional
Some repair decisions are safe to explore on your own. Whether a board can be sanded, whether a subfloor has shifted, and whether a plank swap will hold through the next season of dry heat are not. If the damage is repeating, if you hear hollow spots, if a tile or plank is lifting from the substrate, or if you’re pricing a replacement and want a real line-item number, call us. Flooring Mesquite offers free estimates in Mesquite – call (844) 560-4155. Our technicians have up to 12 years of experience, and we’ll give you a written estimate for each path so the decision is numerical, not guesswork.
Frequently Asked Questions
For a localized surface problem on a sound subfloor, repair is almost always cheaper than replacement. The math flips when the repair’s labor alone approaches 60-70% of the full-replacement cost, or when the subfloor or wear layer has failed. That’s why we estimate both paths at the same visit and put the numbers side by side. Call (844) 560-4155 for a free estimate.
It depends on how much wood is left above the tongue and groove and the condition of the boards. If there’s enough depth and the boards aren’t cupped or shifting, refinishing restores the surface without lifting a board. Whether a specific floor can be refinished to a specific stain or finish is checked at the estimate. That’s a free on-site visit; call (844) 560-4155 to book it.
Hollow sounds are often a substrate movement symptom, especially in Mesquite’s dry desert heat, where subfloor panels shrink at the seams and open gaps under tile and glue-down floors. A single hollow spot can be benign; a line or cluster of them usually isn’t. It’s worth having the subfloor checked before scheduling a repair on the tile itself. Call (844) 560-4155 to schedule an estimate.
In many cases, a single plank can be swapped if the lock joints at the seams nearest it are intact and the product line is still available. If the lock is compromised or the plank’s been discontinued, a full replacement is the cleaner option. We assess that at the estimate; call (844) 560-4155.
There’s no single answer, and anyone who gives you one without checking the floor hasn’t seen it. A surface repair on a sound subfloor can last many years. A repair on a moving substrate can fail within a season or two. We’re honest about that at the estimate: if a repair is buying you years, we’ll tell you; if it’s a deferral, we’ll tell you that too. Call (844) 560-4155 for a free estimate.
Yes. Flooring Mesquite’s estimates are free, and the price for either repair or replacement is set per job by the written estimate, not by a range. There’s no charge to have a technician look at the floor and put numbers on both options. Call (844) 560-4155. We answer 24/7. Fast dispatch from 7am to 7pm, Sunday through Friday.
The Bottom Line
The repair-vs-replace call isn’t about how bad the damage looks. It’s about whether the floor’s substrate, wear layer, and installation can still support a repair that will hold. Check the three layers, confirm the product can be matched, and compare repair labor against the full-replacement labor you’d pay anyway. Hardwood refinishing is the option between repair and replace that most comparisons skip, and in Mesquite it’s often the right call. Flooring Mesquite can walk through your floor with you and put real numbers on both paths. Call (844) 560-4155 for a free estimate. We answer 24/7. Fast dispatch from 7am to 7pm, Sunday through Friday. You pick the brand. We handle the installation.
Written by the team at Flooring Mesquite.